
Simple Photo Studio at Home
More DIY
Taking pictures of products, isolated on white background is something I do a lot, which you may have noticed from this blog. Achieving good (or, at least decent) results is actually much easier than you might think, and costs basically nothing. No special studio lighting or reflectors are required, and the setup is simple. Read on for how to set up your own little photo studio at home for product photography.
Step 1: Get a white background
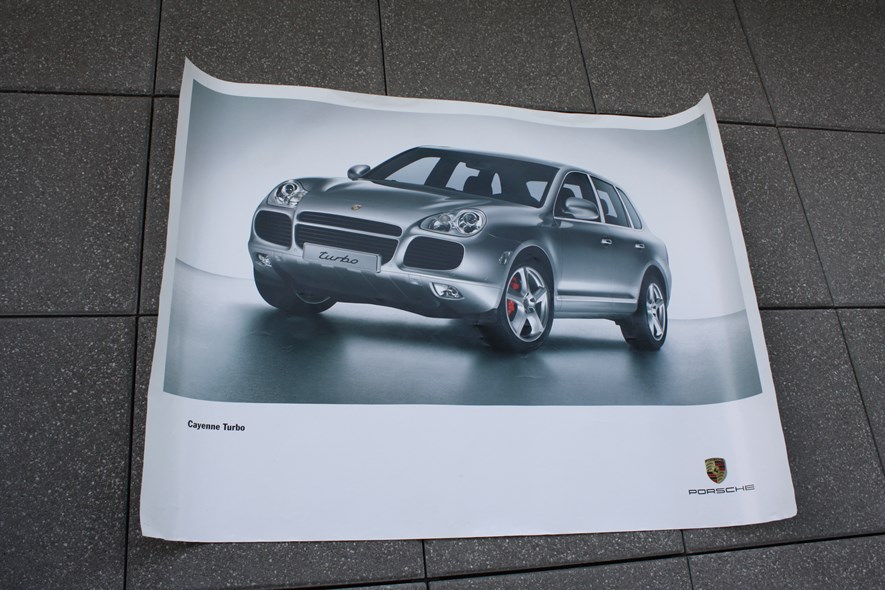
Okay, you might fancy some other color but I like plain white. As a background, I use the back of a regular poster. The bigger, the better.
Step 2: Find a location and set it up
We need soft, even light for this shot. Shooting outside in the shade works, and so does shooting indoors using a window with indirect light. Direct sunlight will cause harsh shadows, and unless that's what you're going for, should be avoided.
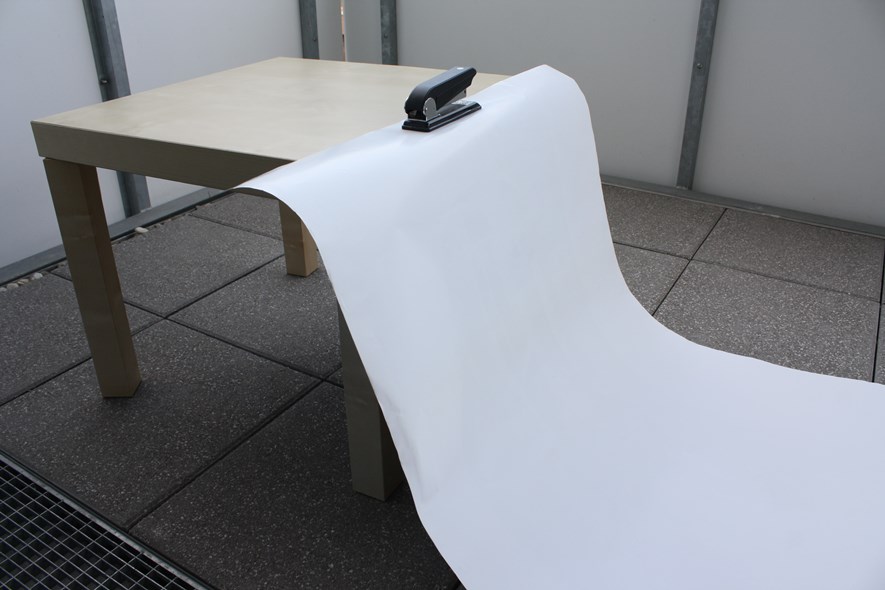
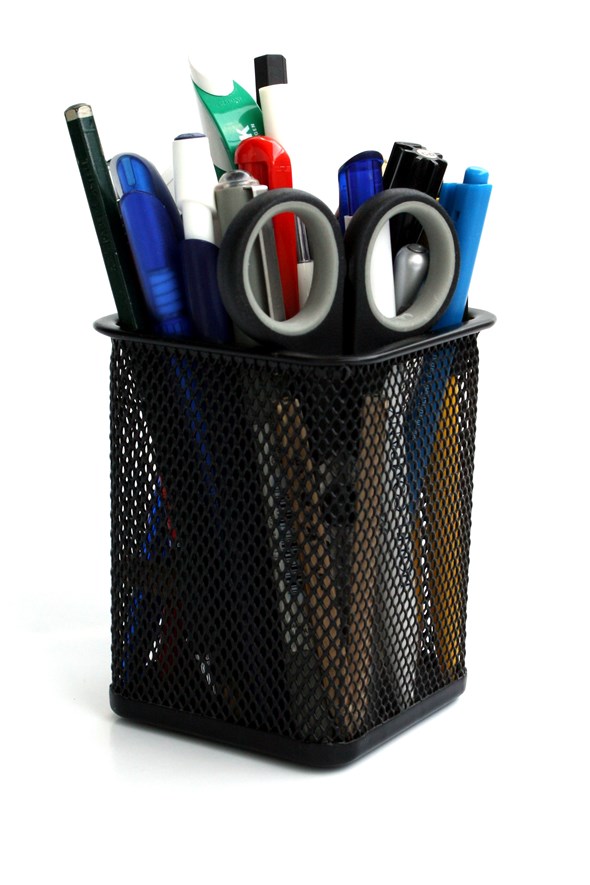
Step 3: Place the product to shoot on the poster
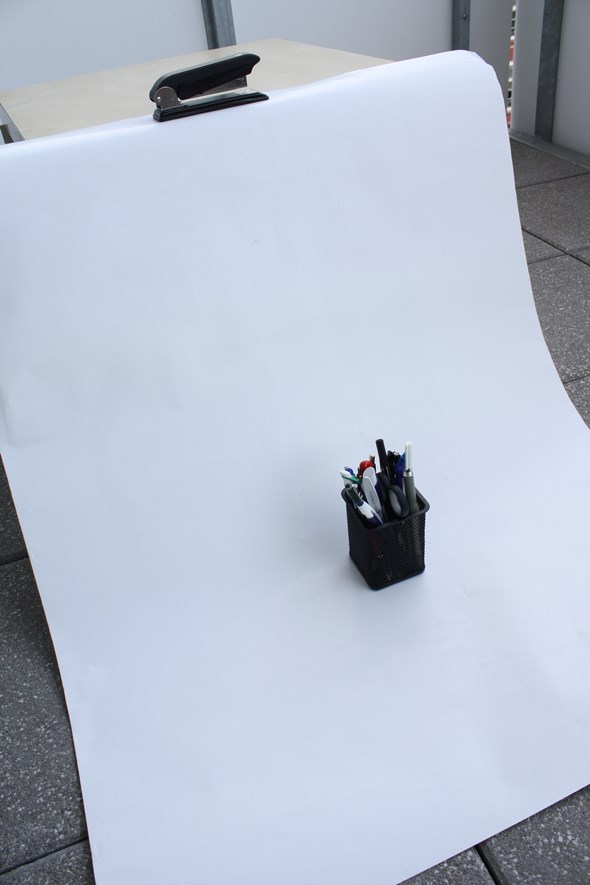
Step 4: Start shooting
With the product placed on the ground, you need to get down there too. A few things to think about:
- White balance: To get the white balance right, take a shot of the empty white poster and set as custom white balance (refer to Google on how to do this on your camera).
- Exposure: The white background often turns out grey-ish. To avoid this, experiment with the exposure compensation setting. +1 EV is often good.
- Focal length: You are probably close to what you are shooting, but try to move away a bit. I usually keep the focal length around 50mm or so. Shooting close at wide angle will distort the product (it does look cool in some cases though).
- Aperture: Typically, you want to have the whole product in focus, so close the aperture a bit. Try f/8 or f/11 and take it from there.
- ISO: Keep that ISO down - if you can keep it as low as 100 - great, higher than 400 is typically bad.
- Shutter speed: Keep it low, ideal is 1/60th of a second or faster, but 1/30th and a steady hand or 1/15th and image stabilizer is still ok. You may also consider using a (possibly improvised) tripod or experimenting with ISO and/or aperture.
- Clean! Dust is everywhere, and glass (if that's what you're shooting) just loves fingerprints. It may look great in the camera, but you will notice it later in the computer.

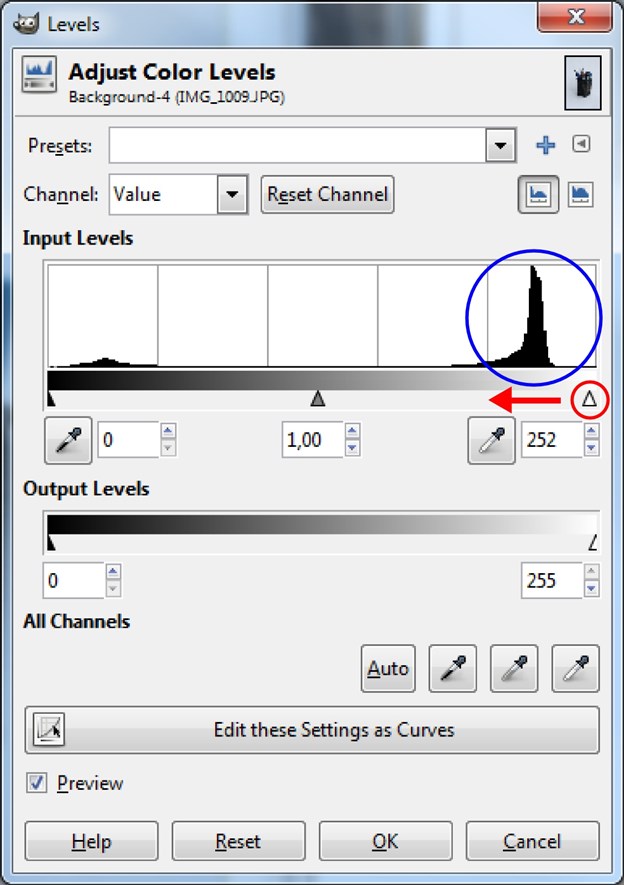
Optional: Editing
If the background didn't turn out white enough, or if the blacks are not deep enough, we can easily fix that using Photoshop or Gimp. I usually use the levels tool in Gimp (Colors -> Levels).

Conclusion
It's not perfect, but it's simple and it works for simple shots. The biggest problem is probably the background. In a studio, you would usually illuminate the background enough to be completely blown out, but we need to overexpose and cheat by using Gimp instead. Maybe I will have a look at some DIY studio lighting further on to try and solve that, or to get some more dramatic lighting.
2 Comments
Subscribe to new comments by RSS