Gimp image editing
A story about gimps and goats
Gimp is a free image editing software that is very heavy on features. I like it a lot and use frequently for photo editing. But getting started can be a bit tough and takes some patience. I was experimenting with a picture the other day and thought I could share the results as a little tutorial.
Gimp?
Gimp stands for "GNU Image Manipulation Program". The software is available for several platforms (including Windows) and is often found on Linux machines. Some call Gimp a free Photoshop alternative. I call Photoshop an expensive Gimp alternative. ;)
To download Gimp, go to Gimp.org.
Doing some editing
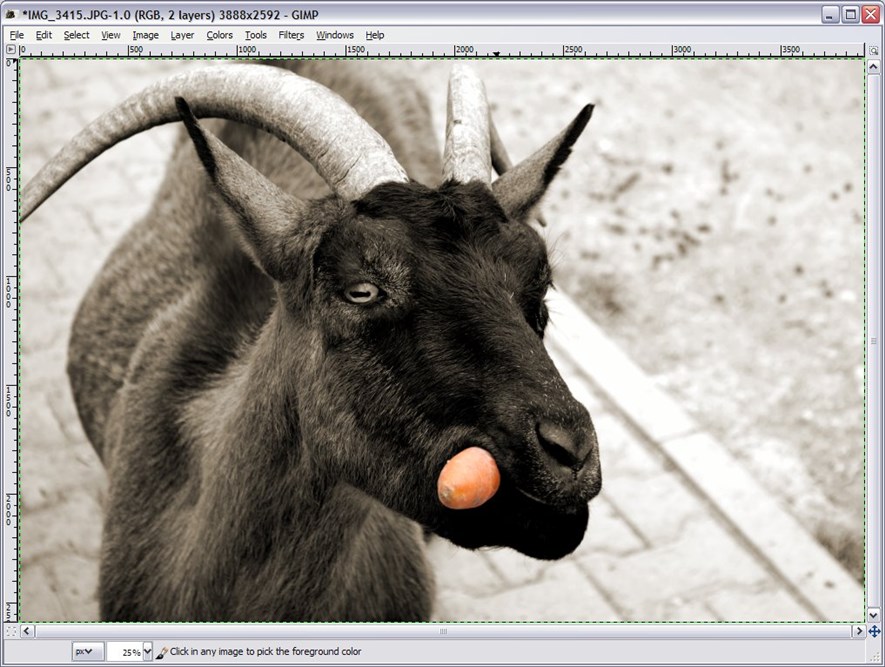
Open the image with Gimp.
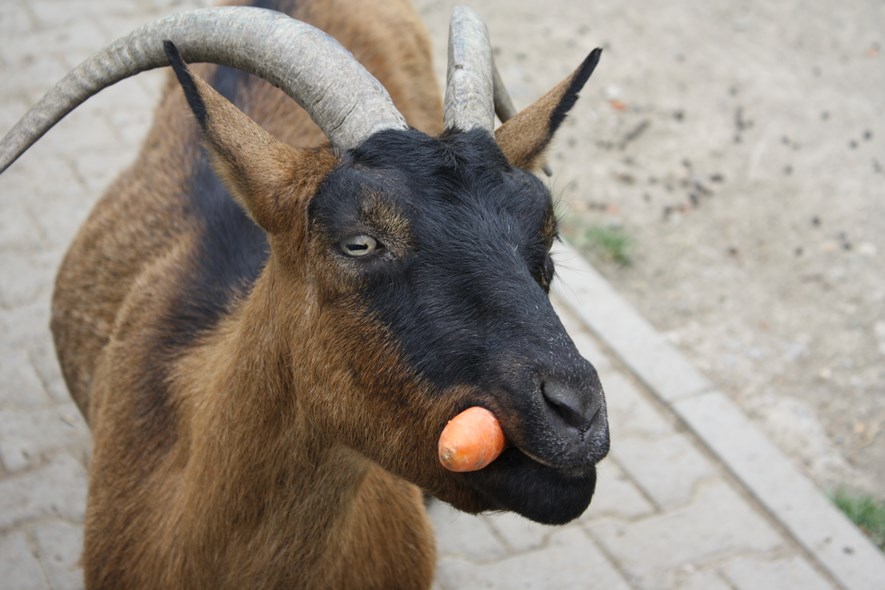
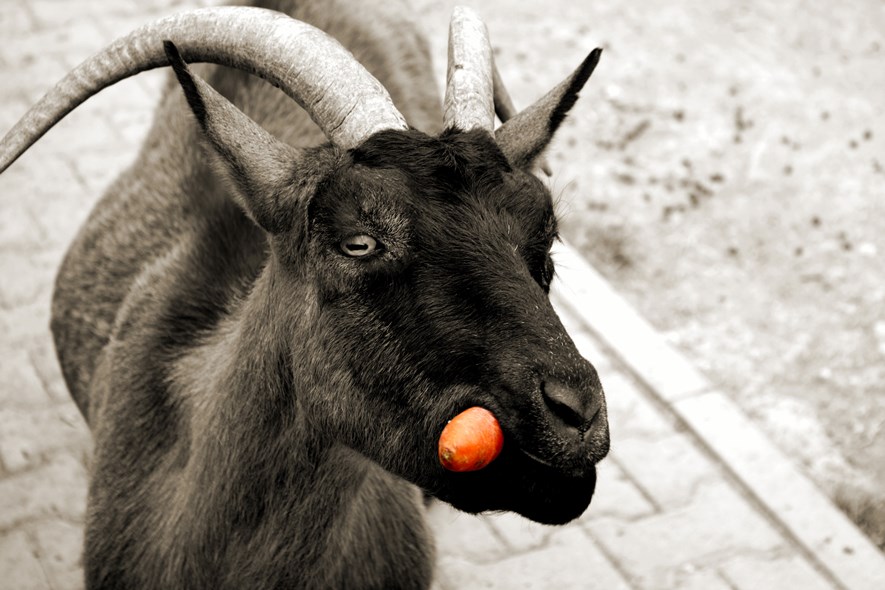
In this tutorial, we will take a stab at making the above picture look cool. (Or at least different.)
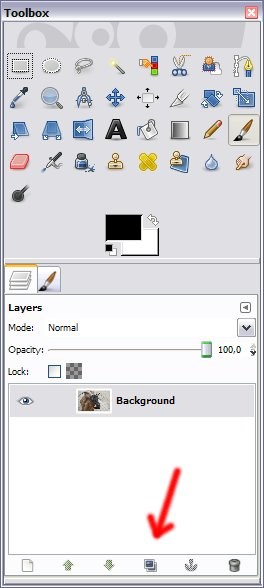
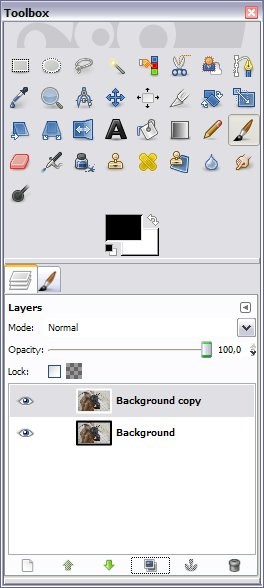
Go to the layers dialog. If is not shown, go to Windows -> Dockable Dialogs -> Layers and it should pop up. Duplicate the layer by selecting it and clicking the "Create duplicate" button at the bottom.
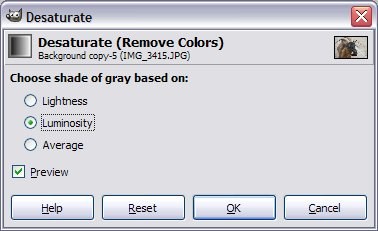
Now, go to Colors -> Desaturate. Tick one of the options - whichever you like the best - and click ok. Congratulations - you now have a grayscale image.
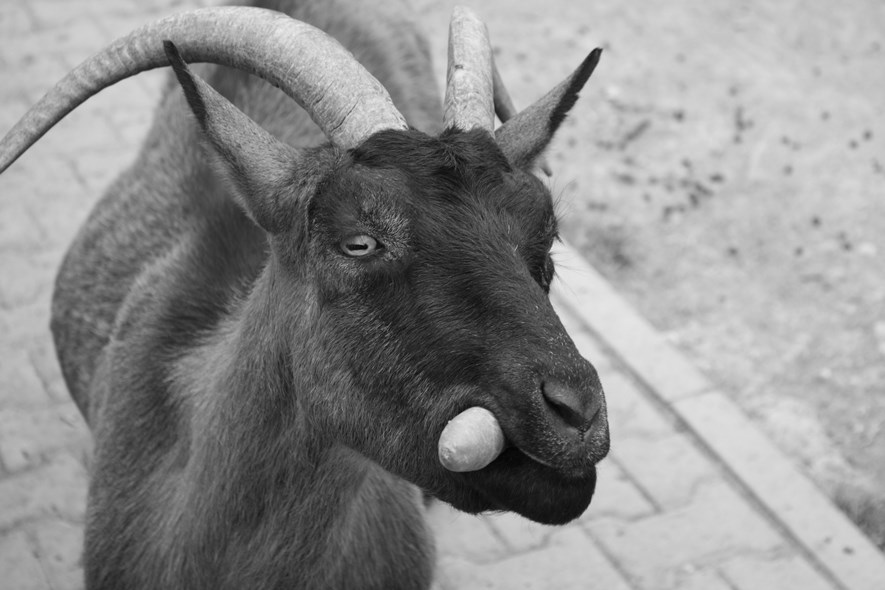
Looks a bit dull, doesn't it? To make the image more rich in contrast, we will adjust the levels a bit. Go to Colors -> Levels.
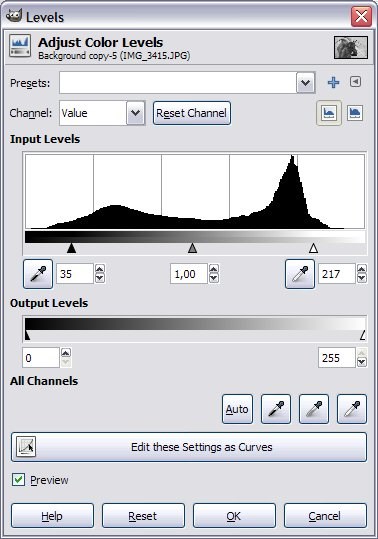
Adjust the sliders under the histogram. The left slider controls the black level, the one to the right the white level and the one in the middle the gray. Move the white and black sliders closer to the middle to get more contrast.

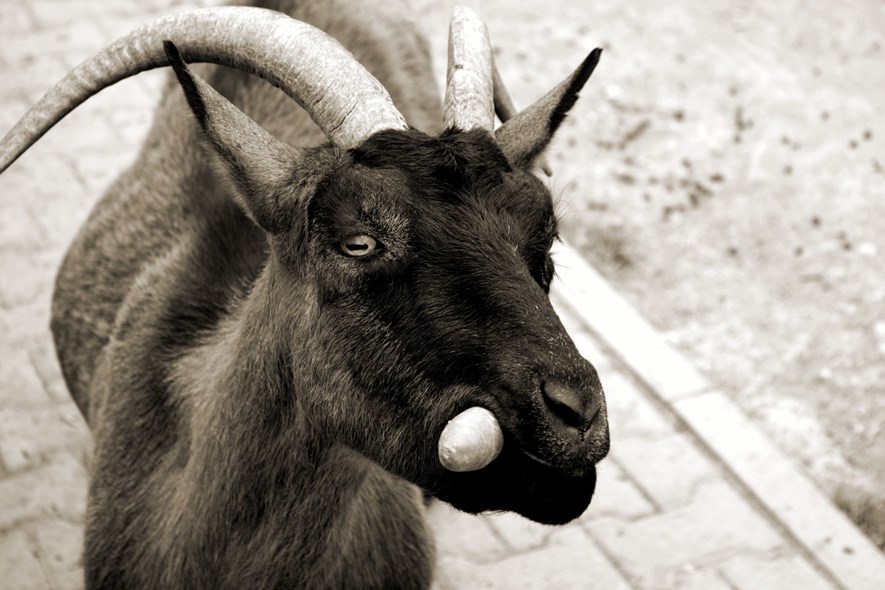
Some sepia touch would be neat. Go to Colors -> Colorize. Select a hue (around 35 is yellow-ish) and drop the saturation a bit.
Now for the fun part. Lets make a part of the picture stand out a little. Add a layer mask to the upper layer by right-clicking it and selecting "Add layer mask".
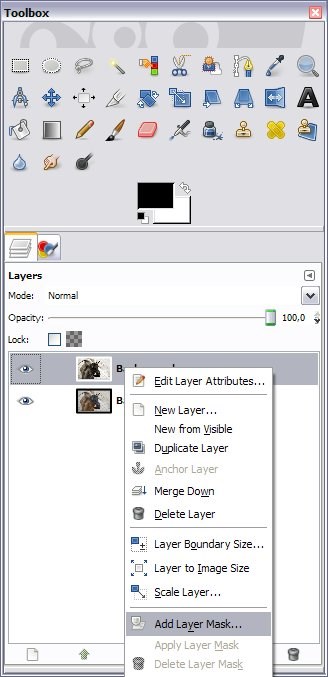
Select to use full opacity and click ok. An invisible mask (it can be made visible, however) has now been added to the layer, which will determine what part of the layer are transparent.
Select a brush and set the color to black. Paint some on the carrot. You will notice that by painting, you are in effect erasing parts from the upper layer, making the lower layer (with color) partially visible.
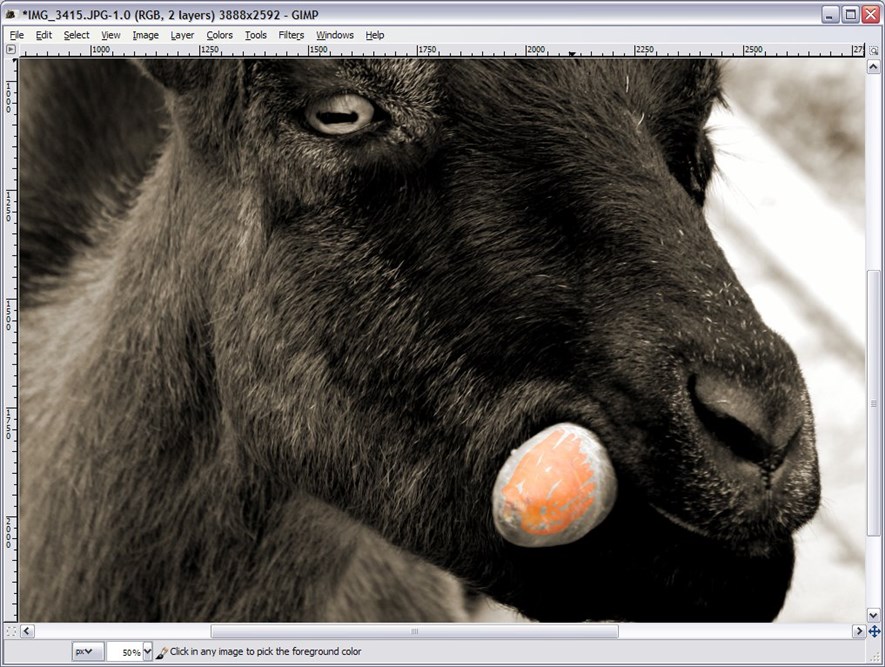
Continue until you have painted the whole carrot. Tip: If you paint outside the carrot, you can easily correct it by panting over your mistake using a white brush, restoring the opacity.
To make the carrot stand out a little more, we use the levels tool again. First, select the lower layer and then open the levels dialog (Colors -> Levels). Adjust the sliders until the colors look strong enough.

So there you go. You can use this technique on many pictures. Gimp does not require goats. ;)
0 Comments
Subscribe to new comments by RSS