Mounting Old Cooler Master Hyper 212 Evo on AM4 CPU the DIY Way
Full jank
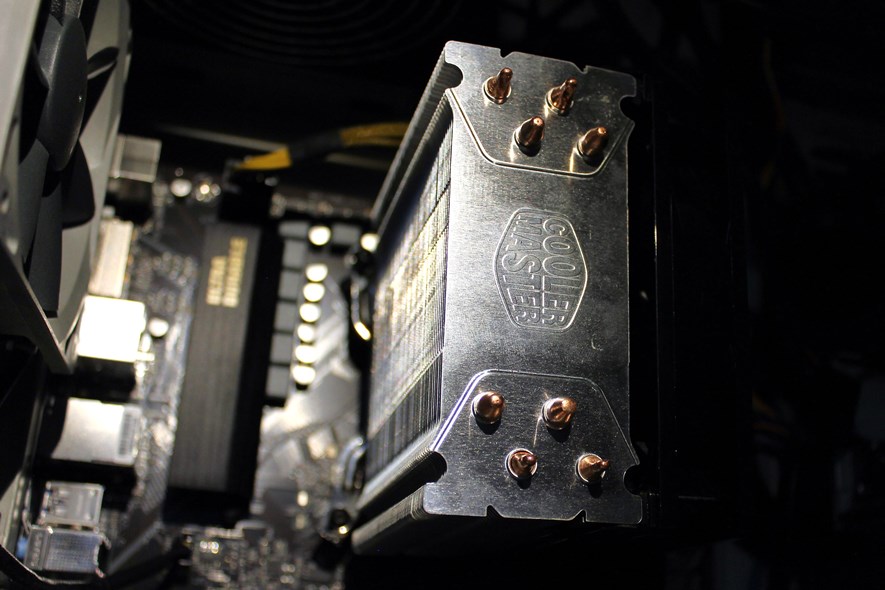
I recently upgraded from an Intel CPU to an AMD Ryzen and while it came with a cooler, I wanted to stick with the Cooler Master Hyper 212 Evo that I was already using. However, I had an older revision and the mounting bracket did not fit the AM4 motherboard. But since the solution to the problem was basically just a matter of fitting a round peg into a square hole, I figured it could be a fun challenge.
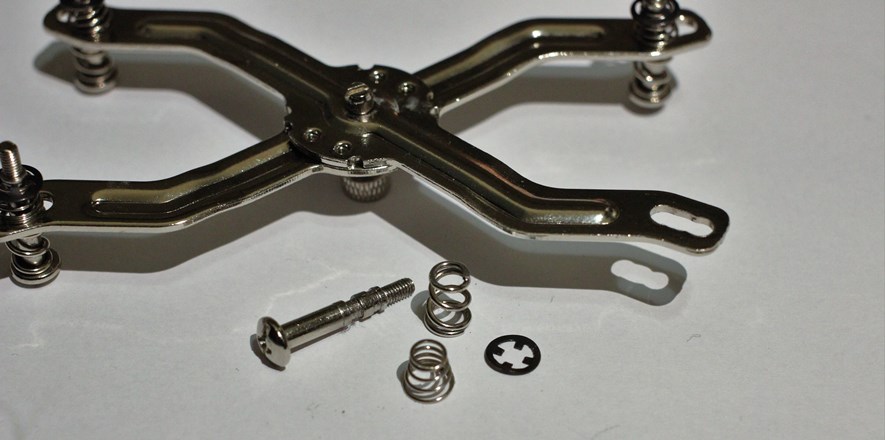
To mount the cooler, the idea is to place the heatsink on the CPU, then place the crossbar on the base of the heatsink to hold the cooler down, and attach the four screws in the crossbar to the supplied standoff screws that in turn are attached to a supplied backplate. This worked fine with the Intel LGA1155 socket I used, but the holes around the AMD AM4 socket are spaced out differently and the supplied backplate doesn't fit. Turns out this model works for the AM3 socket, but not AM4.
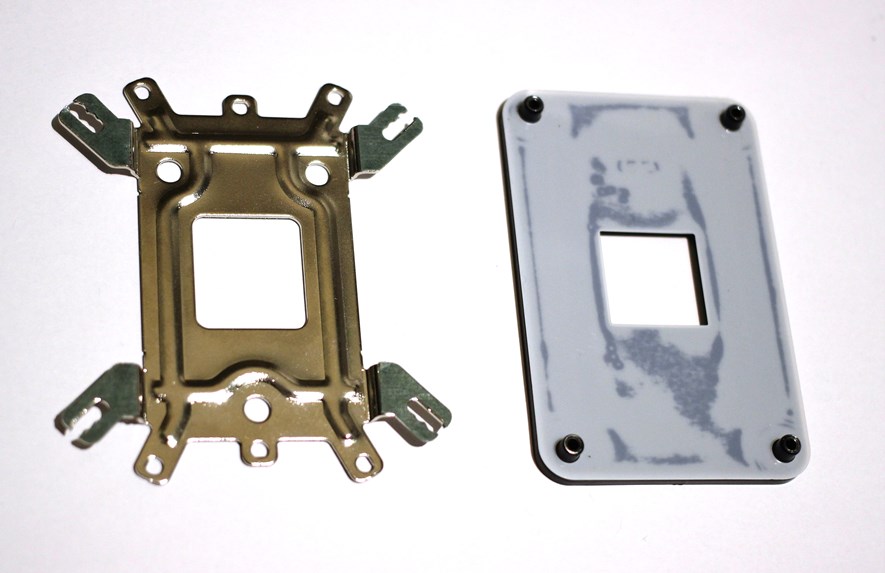
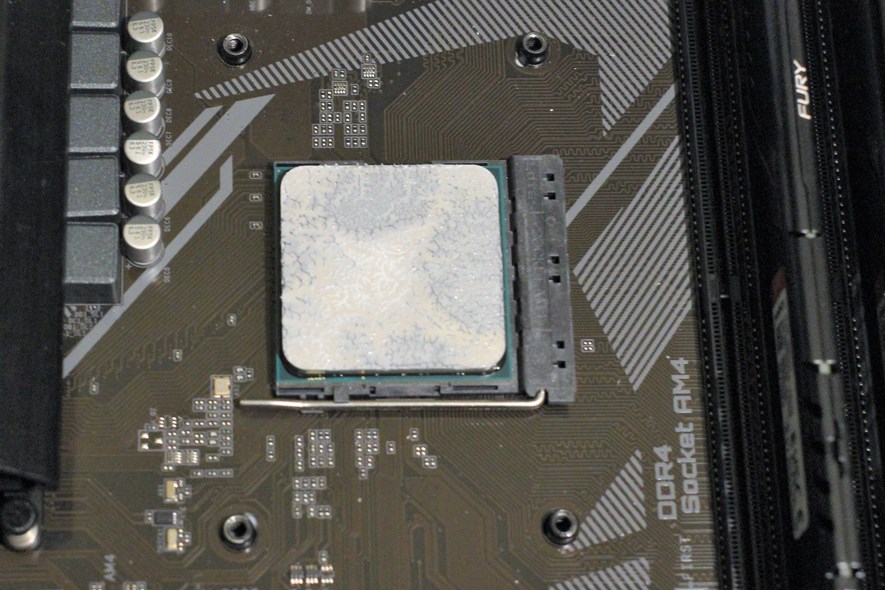
AM4 motherboards typically come with their own backplate however, so if we can figure out a way to fit the crossbar into that, it should work just as well.
Luckily, the crossbar is designed to be quite flexible about where the screws exactly sit. The problem is just that the screws of the crossbar don't fit the AM4 backplate - they are too small, and the standoff screws don't fit a standard AM4 backplate.

Cooler Master actually sells an AM4 upgrade kit (model name RR-AM4B-H212-S1) that includes AM4 compatible crossbar and standoffs, so if you prefer to go the official route, then you might be able to order it from them. However, it doesn't seem to be in stock anywhere and they also charge a ridiculous price for shipping (at least to where I live) so the total amount would almost buy me a new cooler. I guess whether you choose to support such business practices, or rather risk frying your mainboard and CPU with a janky DIY fix is up to you. You have been warned, but I hope you will continue reading!
The AM4 backplate uses standard 6-32 UNC threads. After eyeballing the distance, I decided on a pack of 6-32 UNC screws with a length of 30mm to replace the crossbar screws. The screws I got were actually specifically for an EKWB radiator (link), but you could basically find such screws in any hardware store (which might be super easy or super difficult depending on where you live - turns out living in a country with the metric system is a disadvantage here!).
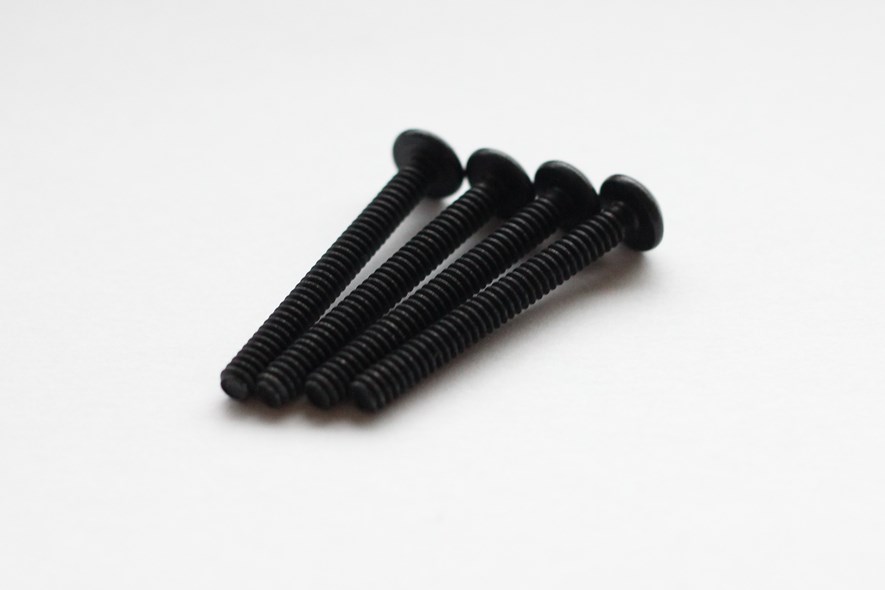
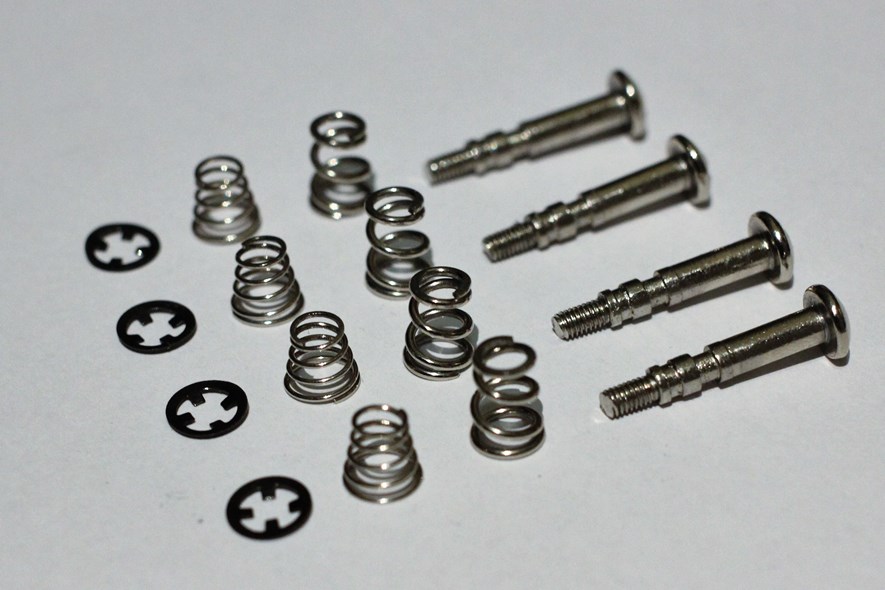
So we need to replace the screws in the crossbar, and in order to do that, the lock washer at the bottom need to be removed. You can do that by prying it off with a screwdriver or similar. Of course, you could also simply by cut them since we don't need them anymore (however, it might still be nice to be able to revert the mod in the future).

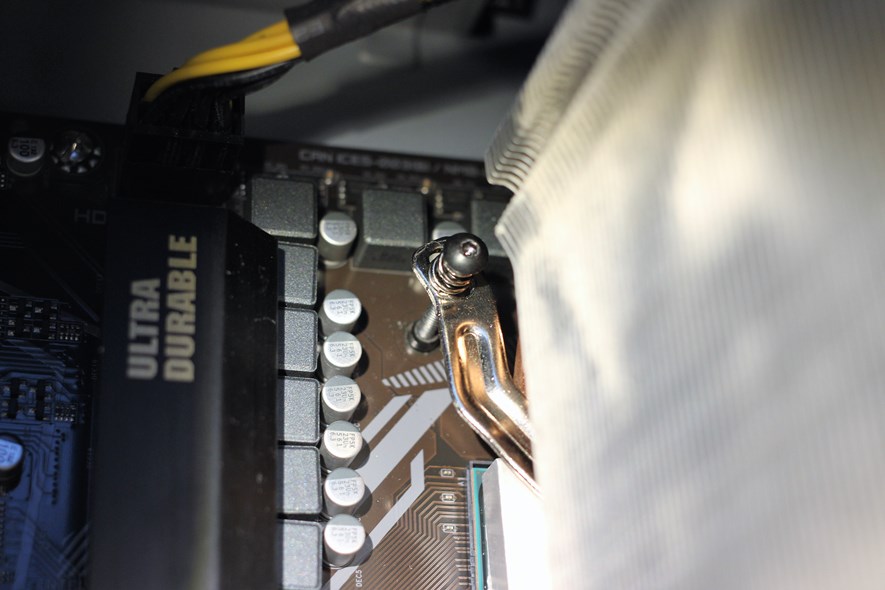
The cooler can now be mounted the standard way, just except with the new screws. Make sure to carefully fasten the screws crosswise and tighten them just enough, too loose and the cooler won't make good contact, too tight and the CPU or motherboard might get damaged. I highly recommend you remove the motherboard from the case to make sure you get a good view of what's going on, especially since the screws could protrude too far out the back of the backplate and cause damage.
After starting the PC, head straight to the BIOS to check the CPU temp. As long as it's fairly low and stable, you should be good. In any other case, switch of the PC immediately and ensure the cooler makes good contact with the CPU.
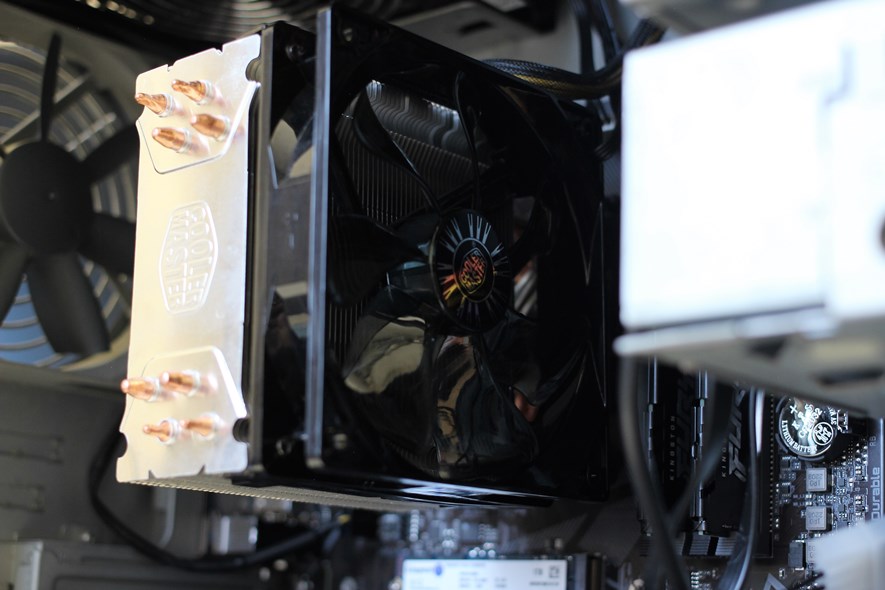
And that's it! I have seen other similar solutions, some using only two screws, and some with the cooler rotated 90 degrees pointing up, but none of that is necessary here. I have been using the PC like this for over a week now and compared to the stock cooler, temps are better and noise is lower. And all it cost was a pack of screws.
Leave a comment
2 Comments
Subscribe to new comments by RSS