Retro PC Emulation with 86Box
Your Voodoo card is now ready for download
When was the golden age of PC gaming? Some might say it's now, some that it hasn't happened yet, but I know what I think - it started in around 1997 and it's still going strong. In 1997, the 3Dfx Voodoo graphics accelerator had gained widespread adoption, bringing fast 3D graphics to the masses, we had CPUs such as the Pentium MMX with 233 MHz, and some really good games were released. While we may not be able to relive our childhood, we can at least relive the games. Older games may not run on a modern operating system, however, but with an emulator such as 86Box, we can not only get old games to work, we can get pretty much the whole experience. Read on for how - and why! - you can set up your very own retro gaming machine.
First off, when I reading about 86Box, I really did not understand what it actually did. A PC emulator? Emulators that I have used in the past mostly were meant to just play games on some old console, such as Nestopia to emulate a Nintendo entertainment system. In that case, all you did was really to start the emulator and load a game. The fact that an actual machine was emulated in software was not really visible; all you would really see was the games. DosBox is another example; it can run a DOS environment, providing a DOS prompt from where DOS applications can be run - but the machine behind is pretty much invisible.
86Box works in a similar fashion, but it's also very different. The simple reason is that a PC is very different - for example, you can't just load a game on a PC, you need to install the operating system first. Actually - you might even start by building the actual PC first. And it's this experience that 86Box offers: Build a machine to emulate, start it up, install the operating system, then install apps and games. In other words, there are no game ROMs to install here, it's just not how a PC works. We do however need to load some ROMs, and these represent actual hardware. Need a Pentium 200 MMX on an Asus Socket 7 motherboard? Download the ROM!
So let's set it up! Below, we will be setting up a Windows 98 machine running on Windows 11.
Step 1: Download 86Box
First, we obviously have to download 86Box itself. Find the latest release on the website. Extract to a folder of your choice, but don't start it yet - proceed to the next step first.
Step 2: Download the ROMs
In this context, a ROM refers to a file that represents a piece of hardware, such as a graphics card. You can find a complete set of ROMs in this official non-official GitHub repo. In the folder you created in the previous step (where the 86Box executable file sits), create a subfolder called "roms", then download the whole ROM set and extract all the files (keeping directory structure) to the roms folder. Congratulations, you just downloaded a graphics card (and then some).
Step 3: Build your machine
Start 86Box. You will be greeted by this screen:
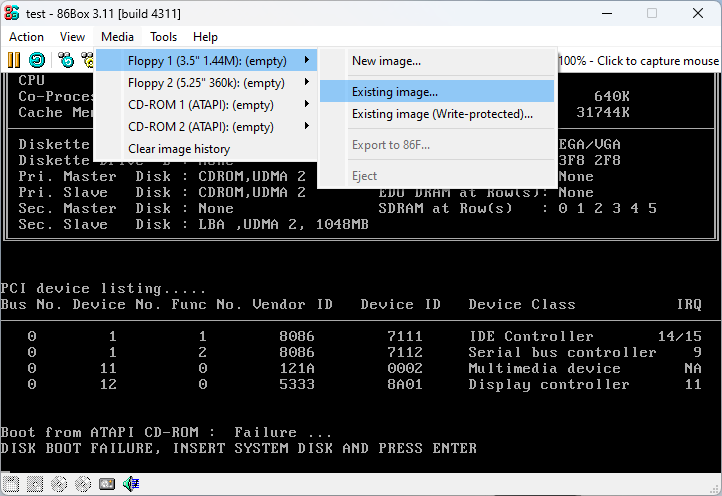
Open Tools, then Settings. Here you will find all the hardware to choose from and you are free to set up the machine as you like. I would recommend you step through the list on the left and set up motherboard, CPU, storage etc. Make sure to set up at least one CD/DVD drive since we will be using it to load media (local folders/CDs/ISOs) later. A floppy drive is also recommended.
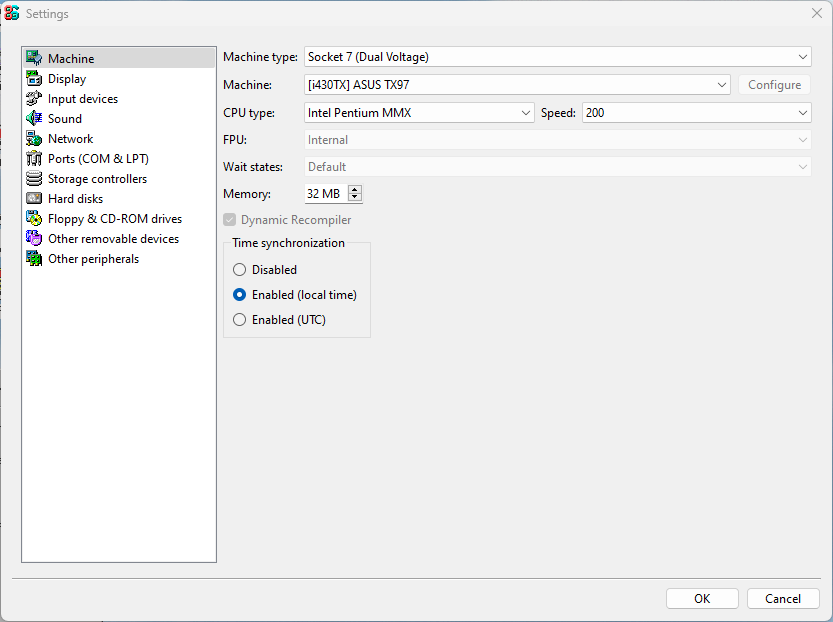
My specs ended up as following:
- Machine type: Socket 7
- Machine: ASUS TX97 (i430TX)
- CPU: Intel Pentium 200 MMX
- RAM: 32MB
- Graphics card: S3 ViRGE/DX
- Graphics accelerator: 3Dfx Voodoo 2
- Input device: Standard PS/2 mouse
- Sound card: Sound Blaster 32 PnP
- Hard disk: 1GB IDE
- Floppy: 3.5" 1.44MB + 5.25" 360k
- CD-ROM drives: Two ATAPI 72x
Step 4: Install an operating system
This is the fun part and what really reminds me of what it was like building a PC in the late 90s. (Although it's not very different from how things are today!). Back then, installing Windows 98 was something I did pretty much on a monthly basis.
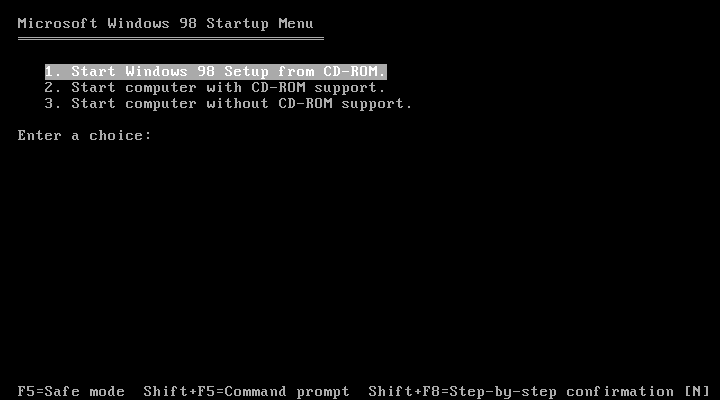
I will be using an ISO of an original windows 98 SE CD. Since we set up the machine to have an optical drive, we can load that ISO in the emulator and it's just like inserting a CD into a real machine. For me it seemed that booting from the CD did not work (may depend on the CD) so I loaded a Windows 98 boot disk image (yes, 3.5" floppy!) and started the installation from there.
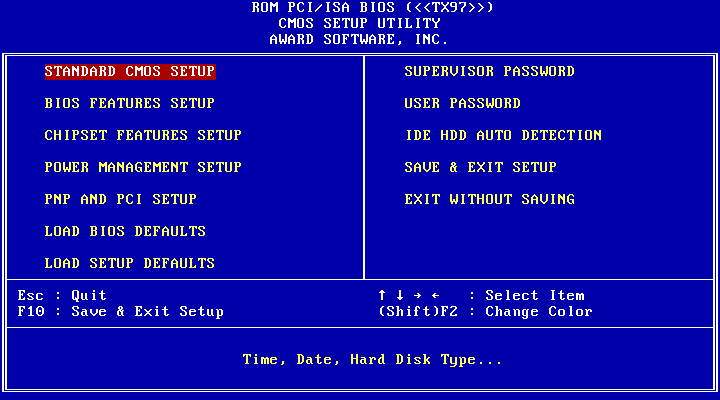
Since it's an actual machine, we can (and should!) enter the BIOS setup, both because messing around there is fun, and also because we need to make sure we have the correct boot sequence. Typically A, then C, to boot from floppy and then attempt to boot from the hard drive.
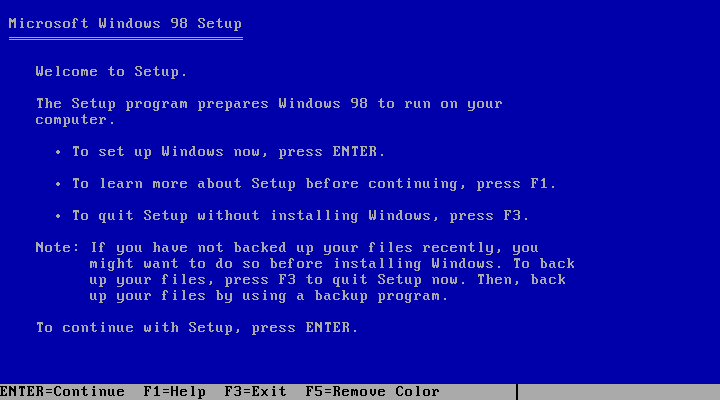
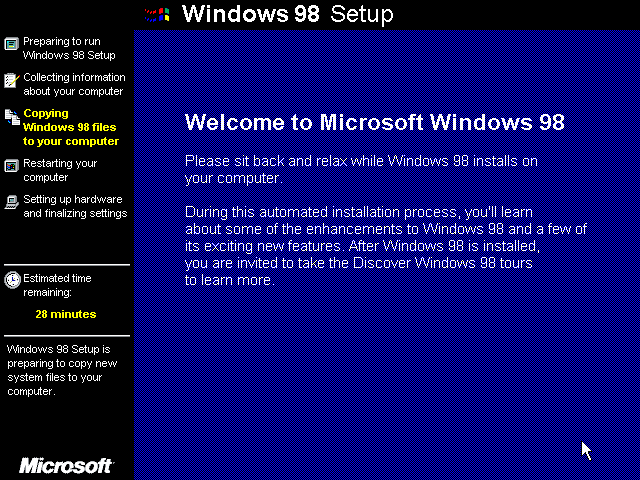
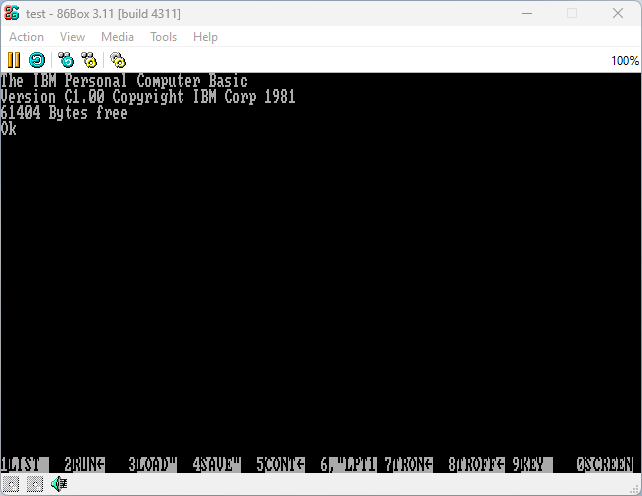
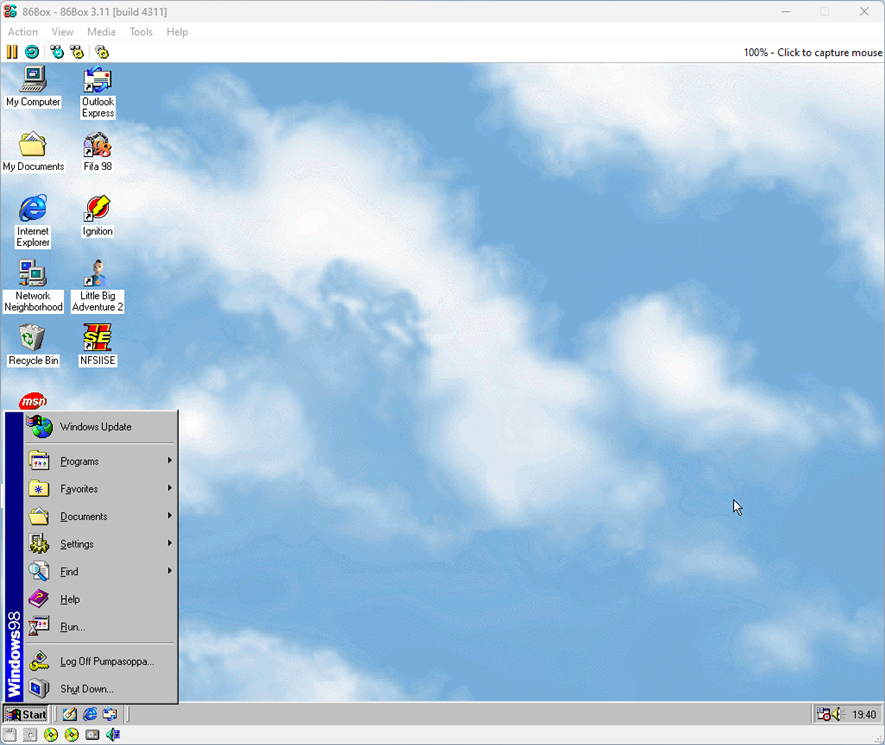
The installation works pretty much exactly as you would expect, and once finished, we are greeted with what was the bleeding edge of usability in the late 90s: a grey start menu.
Step 5: Knock yourself out!
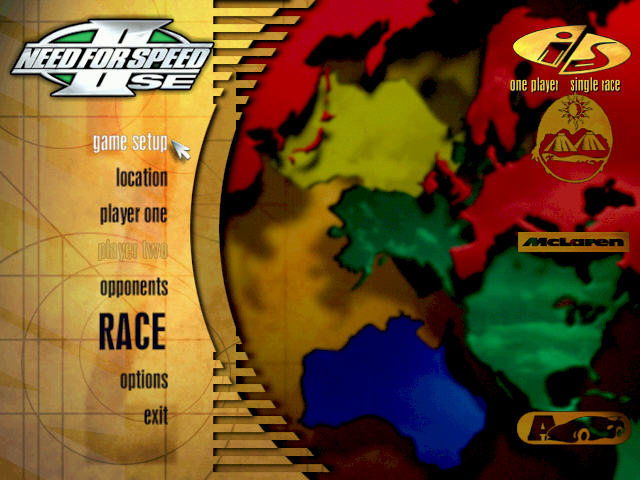
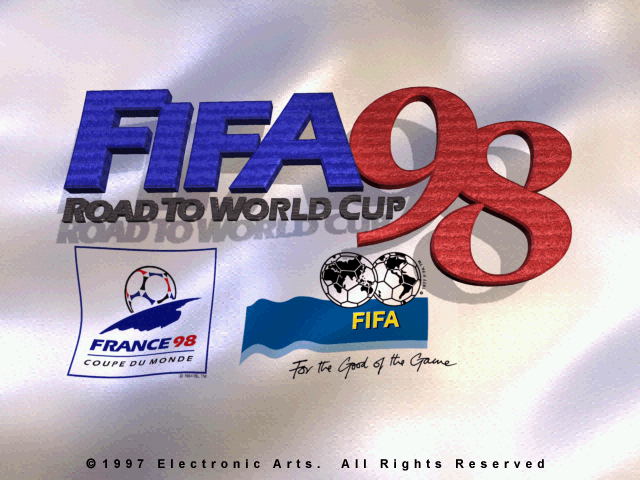
From here we can just go ahead and load ISOs (or local folders) to our heart's desire. Which of course are Need for speed II SE and FIFA: Road to World Cup 98, in that order.

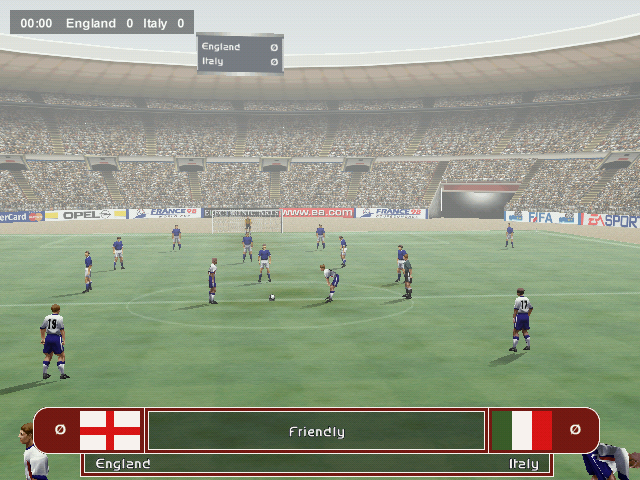
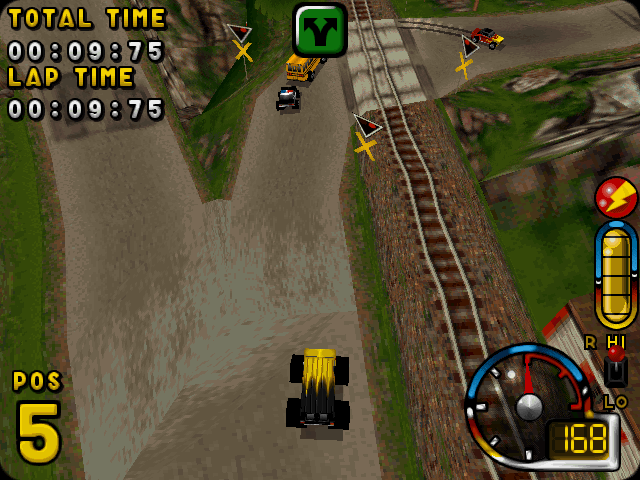
I was pleased to see that not only did the spinning 3Dfx logo show up when I started a game with Glide support, but performance was surprisingly smooth. Your mileage may vary, of course - emulating a Pentium 200 MMX with a Voodoo 2 worked great on an AMD Ryzen 5 5600, but the experience was rather choppy on an old Intel Core i7 3770.
Final words
Why emulate a whole PC when there are other, easier options? Well - first, I think having several options is generally a good thing. You might be into DOS games, and in that case, maybe DosBox will get the job done just fine. Or maybe virtualization is a good option. Or, your game favorite retro game is available in a store (here is Ignition on Steam!). Either way, what struck me is that with "proper" emulation, you really do get the full package - from the PC speaker beeping during POST, to messing around with boot disks, to going through Windows screensavers just for kicks. If that's not your idea of a good time, I definitely understand! But I certainly do find the slight awkwardness of the old PC very entertaining.
3 Comments
Subscribe to new comments by RSS