Trying out Infrared Photography
Visible light is so last year
I was lucky enough to get an infrared (IR) filter from a friend a few weeks ago. An infrared filter will block visible light and just let through infrared light, which is invisible to the naked eye. The sensor in the camera can pick it up, however, and produce quite interesting results. After a few attempts, it was clear that shooting infrared takes some time getting used to, but it is also fun and rewarding. Continue reading for an IR crash course.
How does it work?
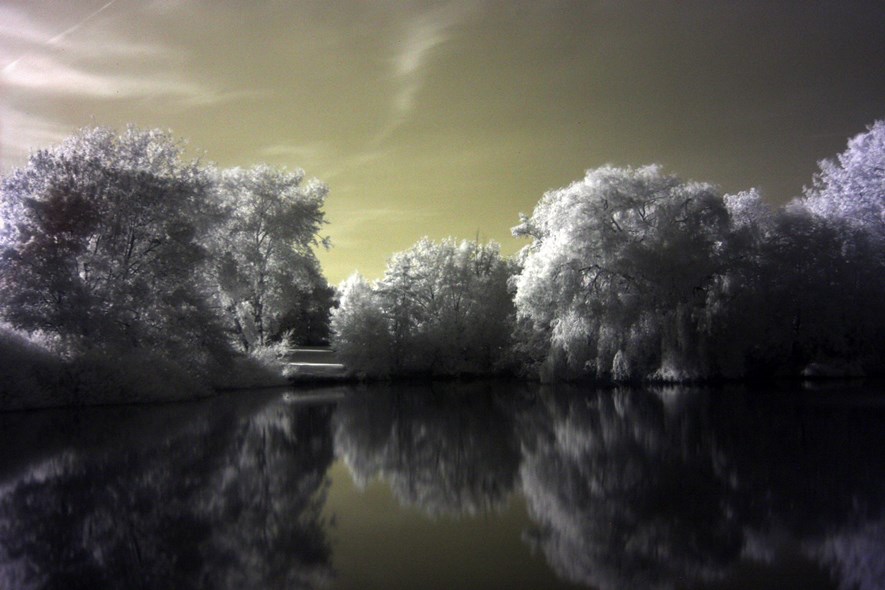
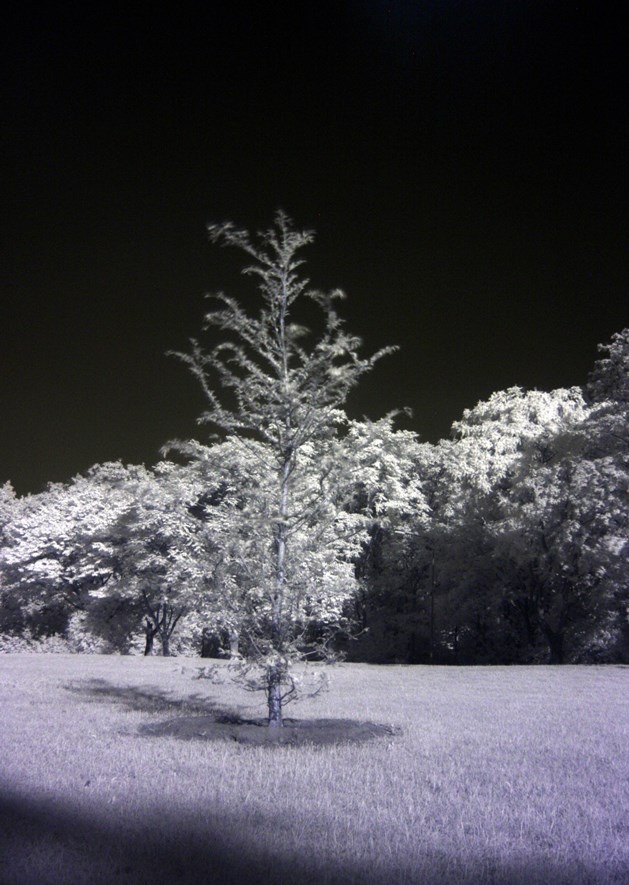
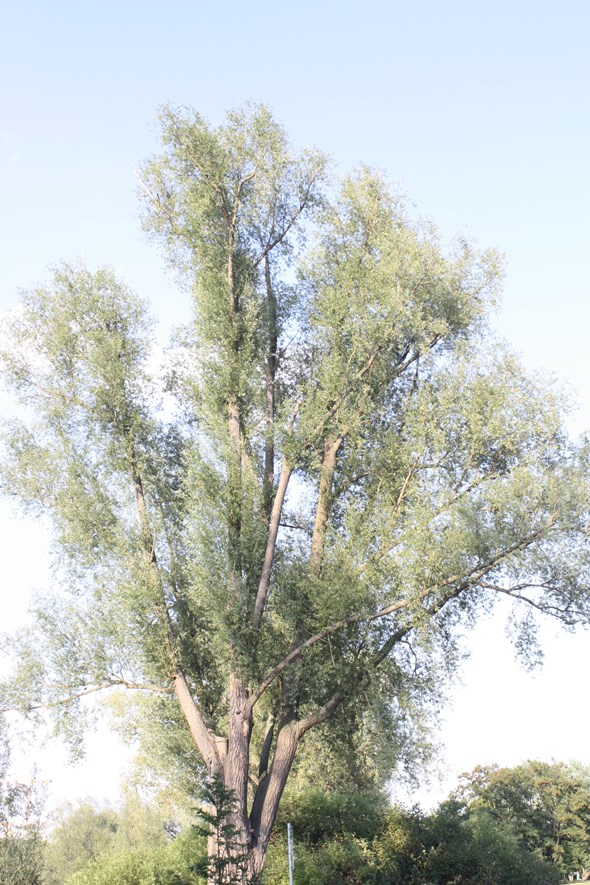
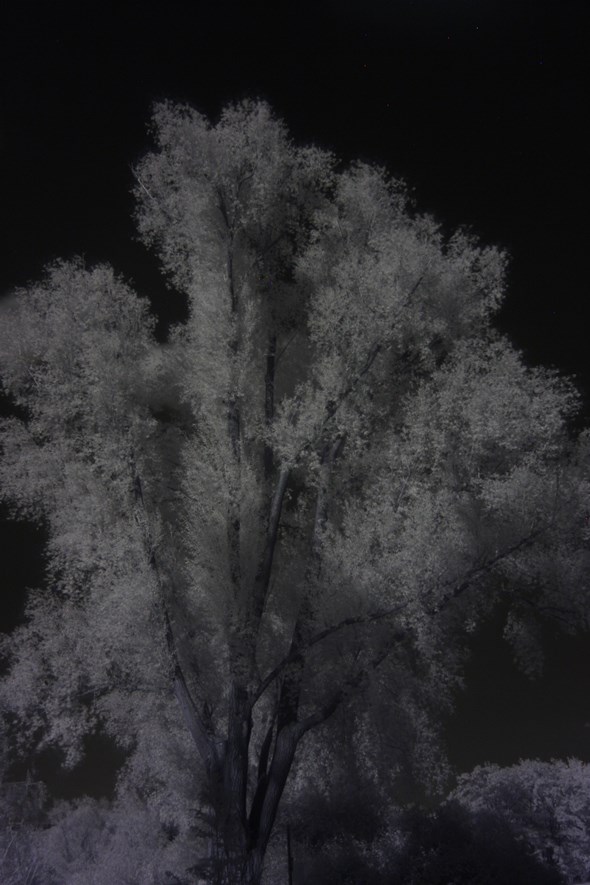
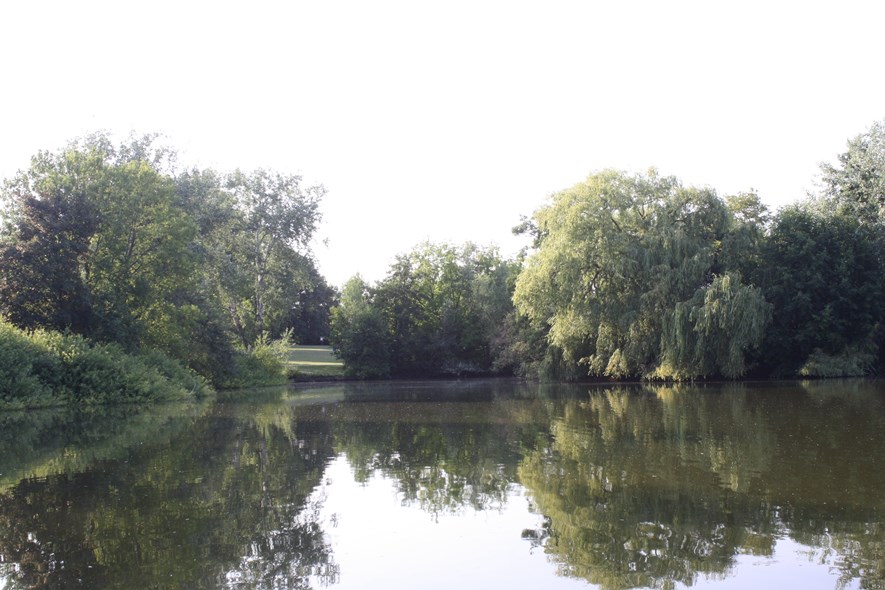
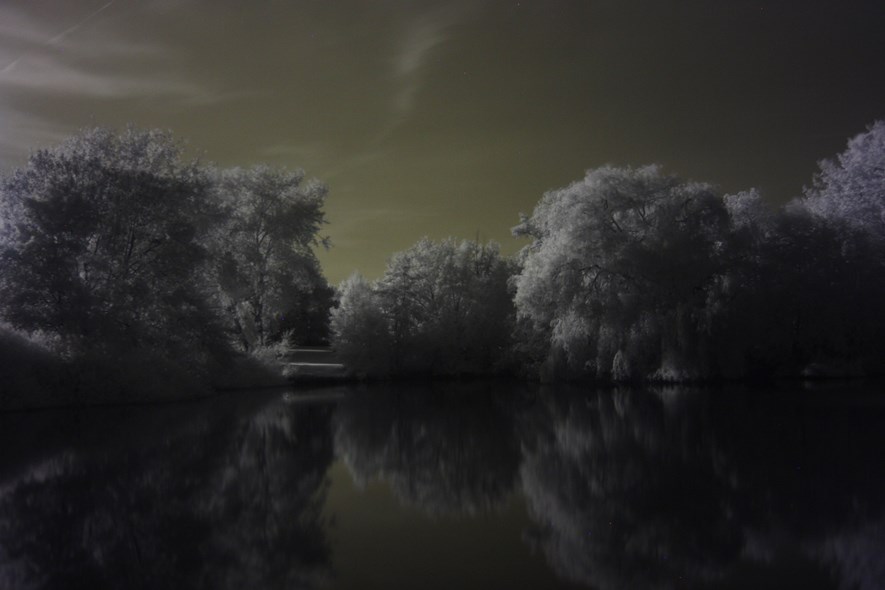
Infrared is not necessarily something you would shoot every day or in any situation. It's more of a cool thing that works well only under specific scenarios. The typical IR shot contains a lot of foliage against the sky on a sunny day. This may sound super boring, but with IR, everything changes: The leaves turn white and the sky turns black.
Compatibility
Some lenses tend to produce hot spots (a bright spot in the middle of the image). And I don't know about cameras. Make sure your equipment is compatible first. Google is your friend.
Getting to work
First, wait for a sunny day. You need light, and a lot of it. Then go find some foliage. Foliage reflects a lot of light and looks cool in IR so try that first.
Second, get the camera set up properly. Here some camera settings to keep in mind (YMMV):
- White balance: I did this by putting on the filter and shooting some grass, and using the resulting image as custom WB. Without it, the images will typically turn out purple.
- Shutter speed: 30 seconds. The light metering will not work properly and we need a long exposure time.
- Aperture: f/11. IR makes the images unsharp for some reason, a smaller aperture helps.
- ISO: 400. My camera is a bit noisy at 800 so I prefer to keep it lower.
- Manual focus. Focusing will not work, so just do it manually.
Once you got that out of the way, set up the camera on a tripod. Compose, put on the filter and shoot. You will notice that you cannot see a thing with the filter on - so composing first is essential!
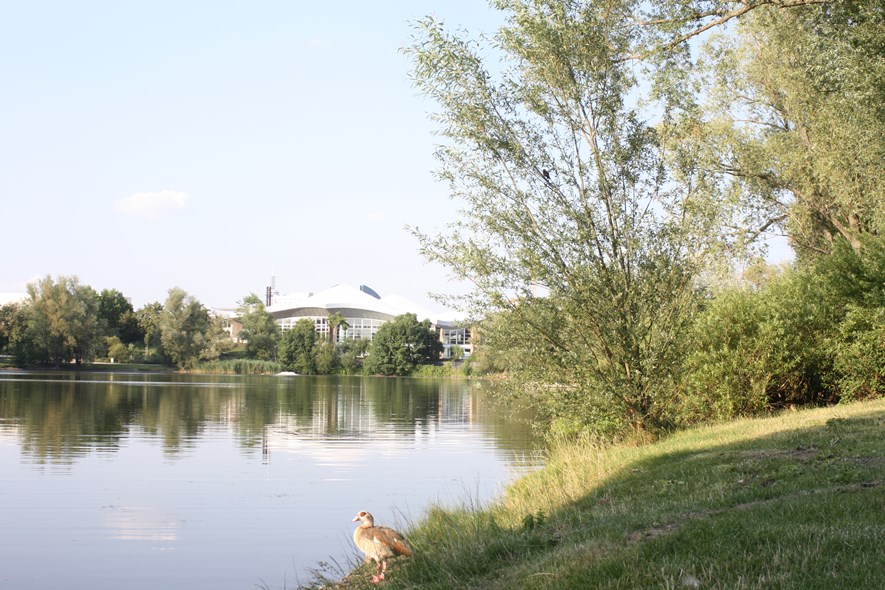
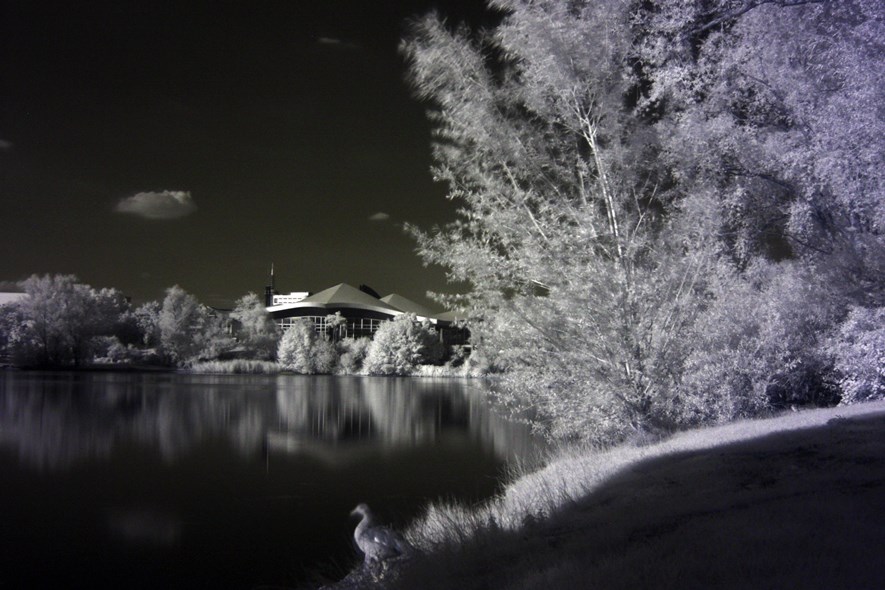
Example shots
I shot these with a vintage 28mm at f/11.
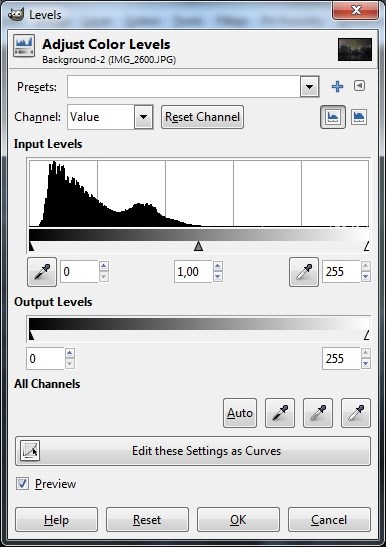
Post-processing
With IR, there are many ways to give the image that extra punch using Photoshop or Gimp. A very simple way is by using the levels tool.

Closing thoughts
Compared to normal photography, shooting using an infrared filter is really a completely different beast. And I am definitely still learning. Next thing I might have a look at is to remove the hot pixels that become visible under long exposure. They are quite visible against the (typically) black sky.
Happy shooting!
0 Comments
Subscribe to new comments by RSS