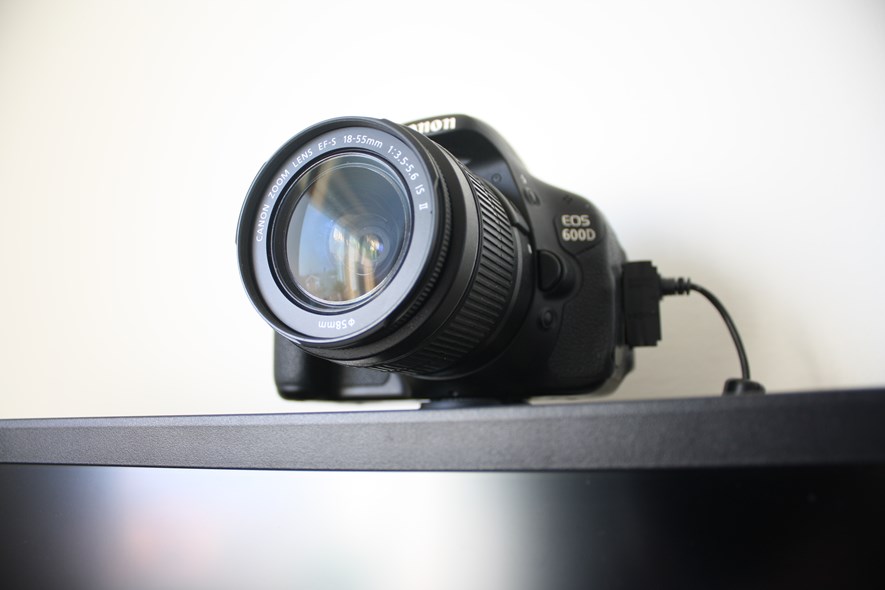
Using Canon 600D as a Webcam
It works, but got quirks
Video conferencing seems more popular than ever, and is probably not going anywhere soon. An important component of video conferencing is obviously video, but the recent surge in popularity has lead to a shortage of webcams, and many have to settle with a poor camera or no camera at all. But fear not - if you happen to have a Canon DSLR collecting dust, you can pretty easily up your game with a heavy-hitting webcam. Read on for more.
Getting Started (the easy part!)
This will focus on using the Canon 600D (AKA Rebel T3i) on Windows 10.
First, download Canon EOS Webcam Utility.
Unzip the file, and run setup.exe.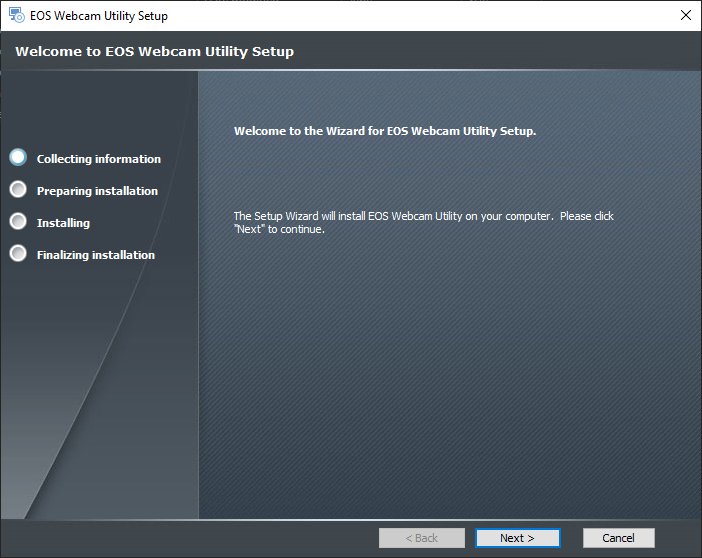
According to Canon, after installation, you will need to reboot but that wasn't the case for me. Oh well.
After installation, set the camera to movie mode (on the mode dial). While not strictly necessary, it enables you to control various camera settings.
Then, connect the camera to the PC using a mini USB cable.
Finally, launch you video conferencing program or video capture application and the camera should show up as "EOS Webcam Utility".
Setting it up
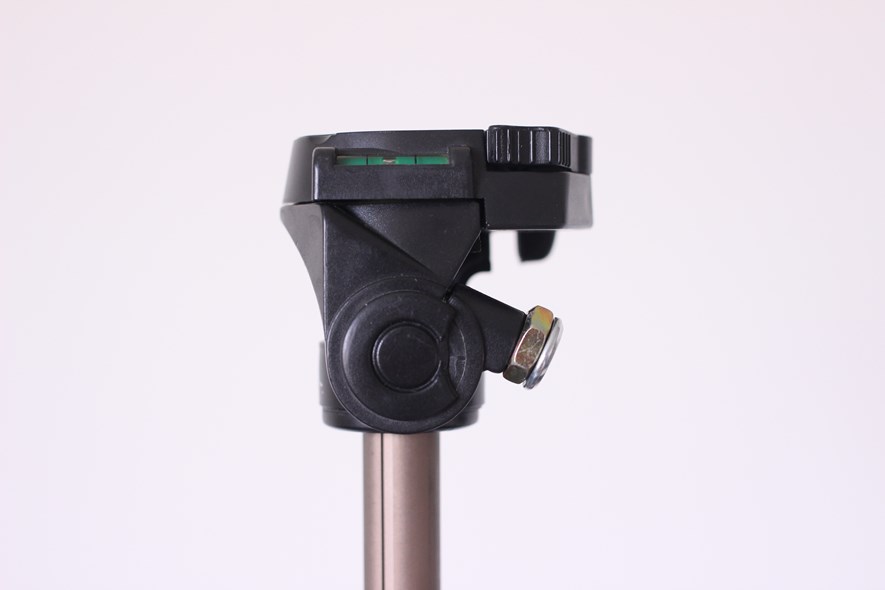
Now, if you want to do it properly, you may want to pick up a desk camera mount with a ballhead. I happened to have a small tripod that fit behind the monitor so I just went with that.

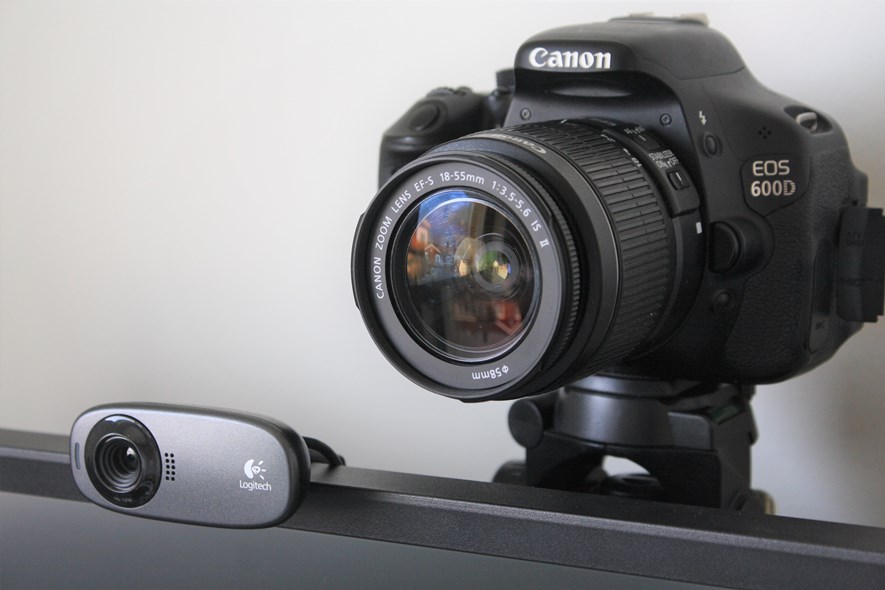
Comparison to a regular webcam
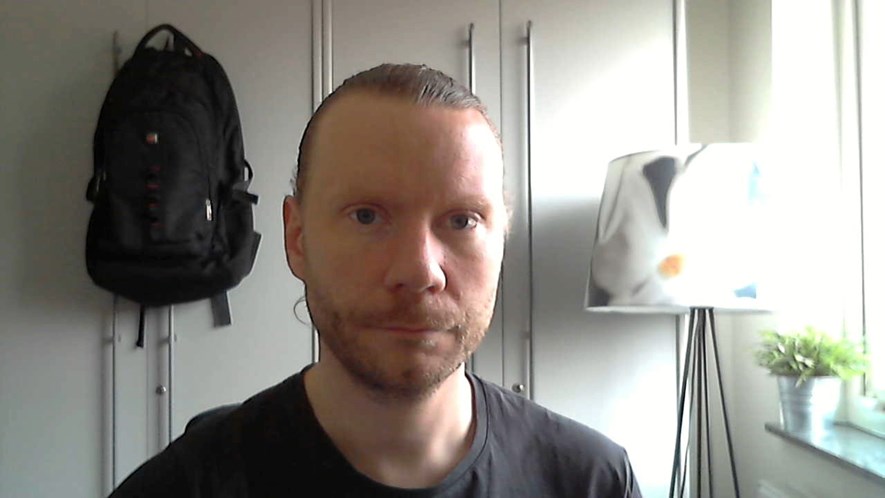
I also have an older Logitech HD C310 webcam, which is probably fairly representative of a typical office webcam.
Logitech HD C310:
Some video conferencing software, such as Microsoft Teams, can apply background blur in software. While this works OK most of the time, it's still far from perfect.
Logitech HD C310 with "fake" blur:
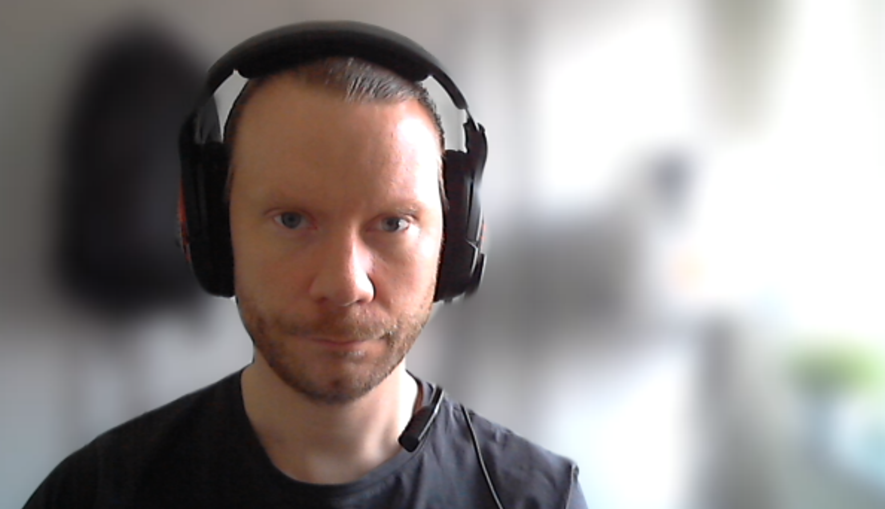
Canon 600D:

So that's great! Quality is good and there is nothing to worry about then? Well - there are a few quirks, at least with the 600D. So now comes the hard part: All the things that the 600D cannot do, or does differently than a regular webcam.
Adjusting focus
The 600D will not focus automatically, but you have different options for setting the focus:- Setting the lens to Manual Focus and turning the focus ring
- With the lens in Auto Focus, press the shutter half way to let the camera focus. Tip: Connect a remote release, sit back, and press the remote release half way to focus.
Note that focusing with the shutter, and changing settings on the camera, only works while the mode dial is set to movie mode. While in this mode, you may also use the shutter to take pictures and use the record button to record movies. Such images and videos will be saved to the memory card.
Getting rid of the black bars
You might expect the resolution to be full HD (1080p), but the video resolution is actually 576p (or, to be exact 1056x702px). This is then padded with black bars to 720p, pillarbox-style. Some users have speculated that the reason for the low resolution might be bandwidth limitations of USB 2.
At any rate, if you find the black bars annoying there seems to be two fixes:
Solution 1: Set the video resolution of the camera to 1280x720, 50 fps. This should magically crop the video resolution to 1024x576. Except sometimes it doesn't - I am still trying to figure out why. If the cropping doesn't work, try the second solution:
Solution 2: Use a virtual webcam
By using a virtual webcam, we can apply cropping in software instead.
OBS Studio is a popular program that works as a virtual camera. It can, among many other things, apply cropping on the fly. Try this:
- Download and install OBS Studio.
- Close the video conferencing application that you intend to use. This is because OBS Studio must be started first, or no virtual camera will be found.
- Start OBS Studio.
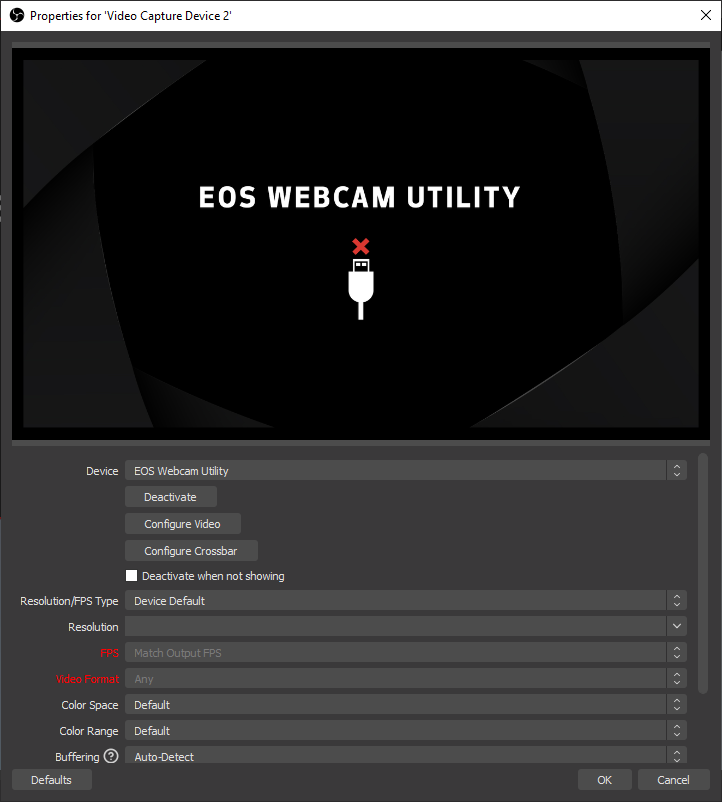
- In the Sources window, click Add (the plus icon) and select "Video Capture Device". Select "Create new" and hit OK.
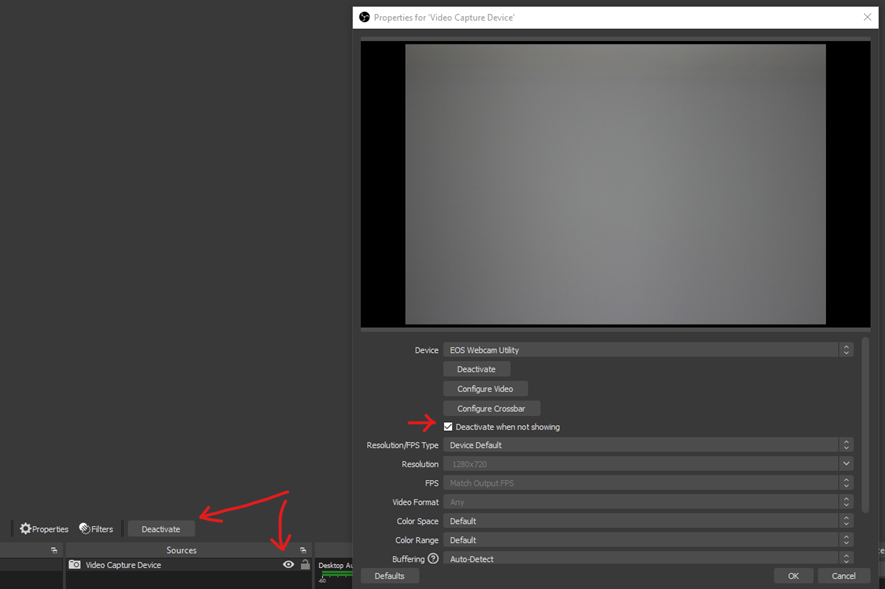
- In the following window, select "EOS Webcam Utility" from the dropdown and click OK.
- You should now see a preview. Optionally, check "Deactivate when not showing". This is explained below.
- Go to File -> Settings -> Video and enter 1024x576 as the base (canvas) resolution. You can also try 1056x702 if you want to preserve every pixel but it's just a weird, non-16:9 resolution that may lead to some applications stretching the video incorrectly.
- You may have to experiment a bit with the output resolution; setting it to the same value as the base resolution should be fine, but some applications (like Google Meet) seem to produce pixelated video unless it's set to 1920x1080.
- Right-click the preview and select Transform -> "Center to Screen" (CTRL+D).
- In the bottom right, click "Start Virtual Camera".
- Start your video conferencing application and select "OBS Virtual Camera" as the camera.

If you want the camera to automatically go into standby when not used, you can check "Deactivate when not showing" when adding a new video capture device, and then click the "Deactivate" or the eye icon. If you want to make this more convenient, go to File -> Settings -> Hotkeys and add hotkeys for showing and hiding the camera (look under "Scene"). Hotkeys are global so you can then enable or disable video from anywhere in Windows.
obs64.exe --startvirtualcam
Also, SplitCam seems to be getting the job done but does not offer as much flexibility.
Things to note
The built-in mic cannot be used for audio, so you will need an external microphone or headset.
The camera will drain the battery quite quickly so you might want to get a dummy battery in order to connect the camera to mains power or a USB power source.
If you need to conserve battery, you can switch the mode dial to a photo mode (such as P) and the display will be turned off. However, you will not be able to:
- Use the shutter button to focus
- Use the shutter to take pictures
- Use the record button to record movie
Also, the camera switches to auto exposure, meaning, among other things, that the camera will set the aperture automatically.
Should you be using it?
I think one idea behind all of this is that a lot of users have found themselves in need of a webcam, or a better webcam, but may be having an old Canon DSLR at home collecting dust. If you are in that situation, downloading and trying out the utility is a no-brainer. Surely your colleagues and friends will be impressed by the crisp quality and smooth bouquet unattainable to regular webcams?? It's worth a shot.
But in order to be able to use it as a proper webcam replacement, you will likely need to get a dummy battery adapter and a good desk mount, and also have a bit of patience setting everything up properly.
Update: 2 months later
I picked up a dummy battery and have now been using this setup for a couple of months, doing video calls pretty much every day. While it's a bit fiddly at times (switching the camera on and of, making sure OBS is running etc.), I think the improved image quality is worth it!
Some things I have learned:
- Auto exposure is not great with this camera. Set the exposure to manual instead and adjust the exposure with the dial on the camera.
- Good lighting is still key. Take the opportunity to set up better lighting in your room!
- I finally found a use for that vintage Revuenon 28mm 1:2.8 lens that's been sitting around for years.
1 Comment
Subscribe to new comments by RSS