ASK 731SP Disassembly
It's what's inside that counts
I was recently asked if there is a way to open up the ASK Smartpad to replace its battery. For me, it was an excellent excuse to finally pop that thing open and see what's inside. Turns out the battery looks quite replaceable, although I didn't try it yet. Read on for a short disassembly guide.
Here we go!
All I used for this was a small philips screwdriver and a pin.
Oh, disclaimer: This is bad, don't do it.
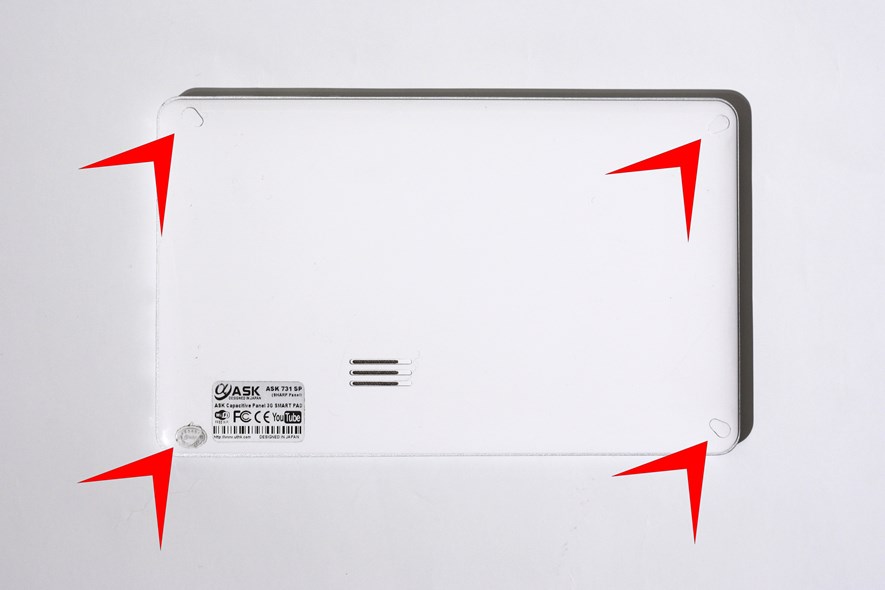
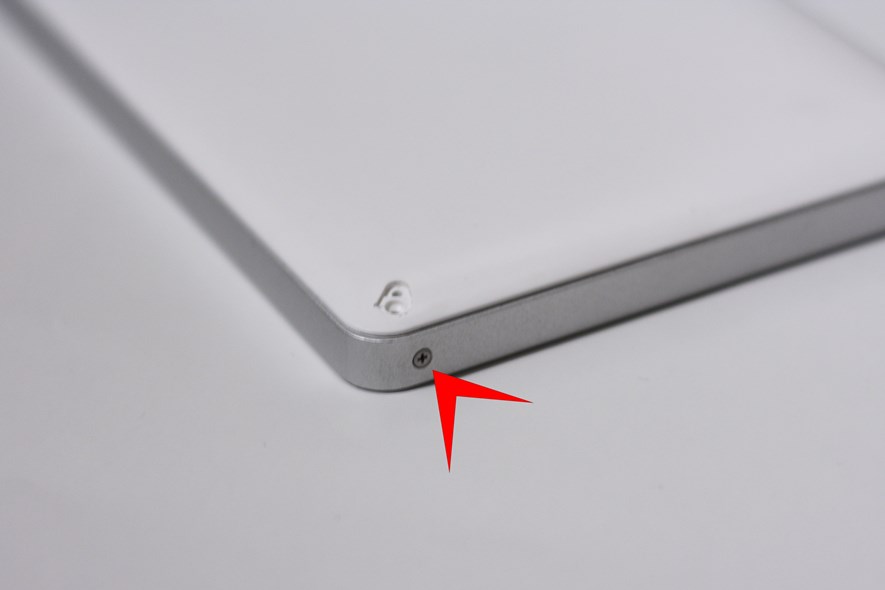
We start by removing the four plastic pieces covering the screws. I did this by using a pin and pry them open.
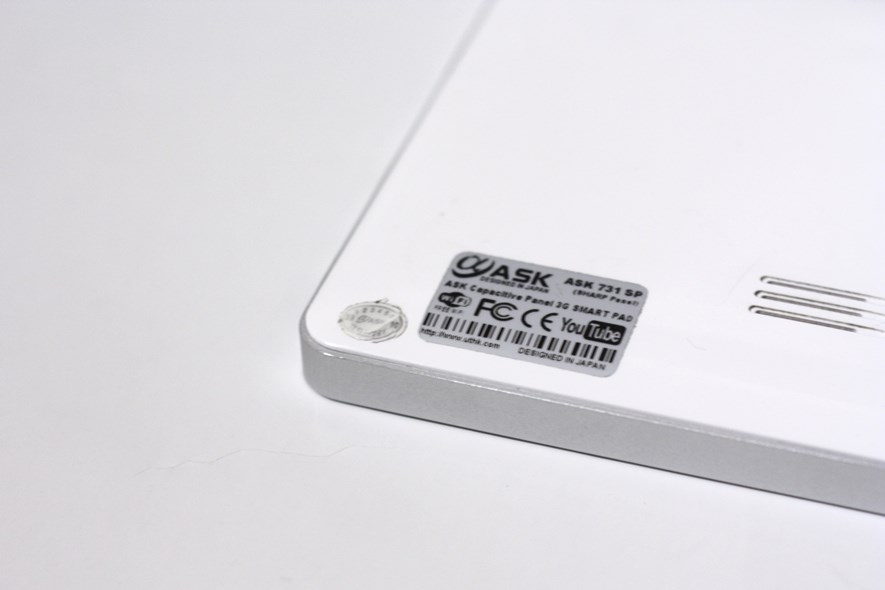
The Warranty Void-screw is found under the small sticker.
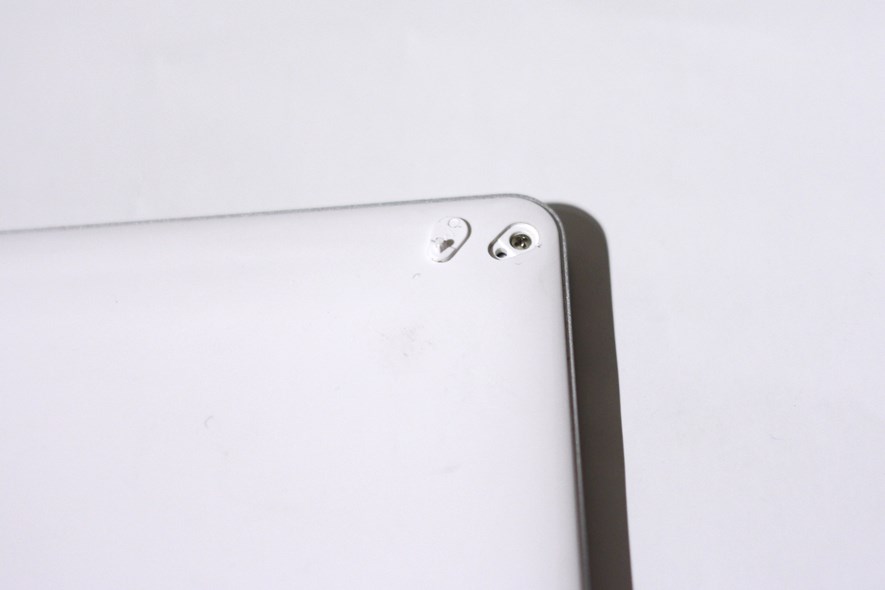
A plastic cover removed, revealing the screw. Time to remove the screws.
Next, we remove the metal frame. There are four screws, all clearly visible. When the screws have been removed, just take off the frame - but make sure to remove the SD card first, or you might damage it!
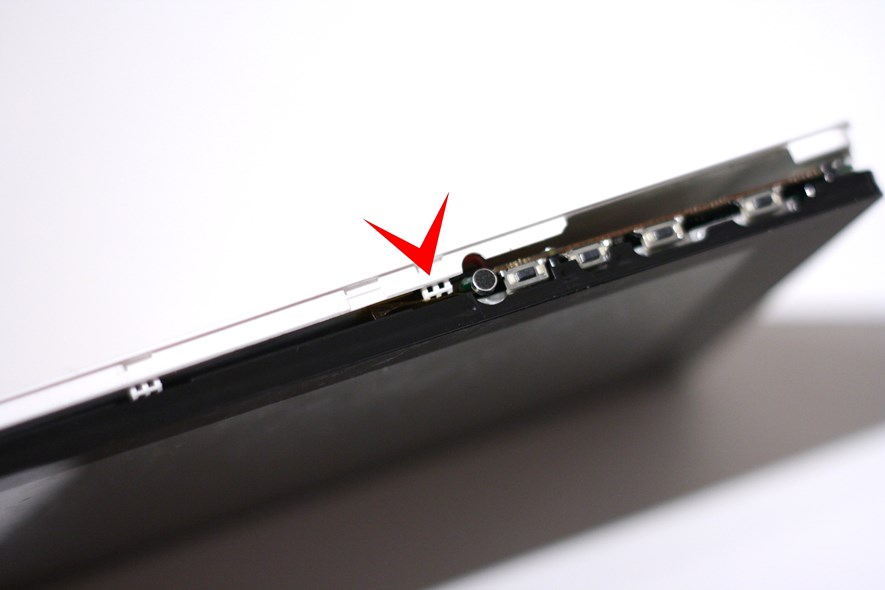
Take off the plastic back. It's kept in place by small plastic clips as shown above. Seems like pushing them in does the trick.
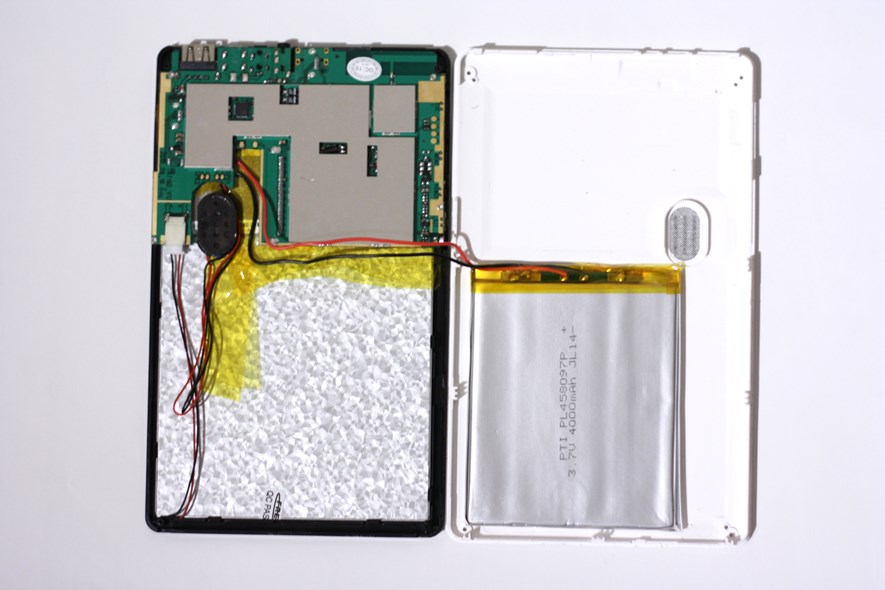
Open. Circuits and display to the left, battery to the right.
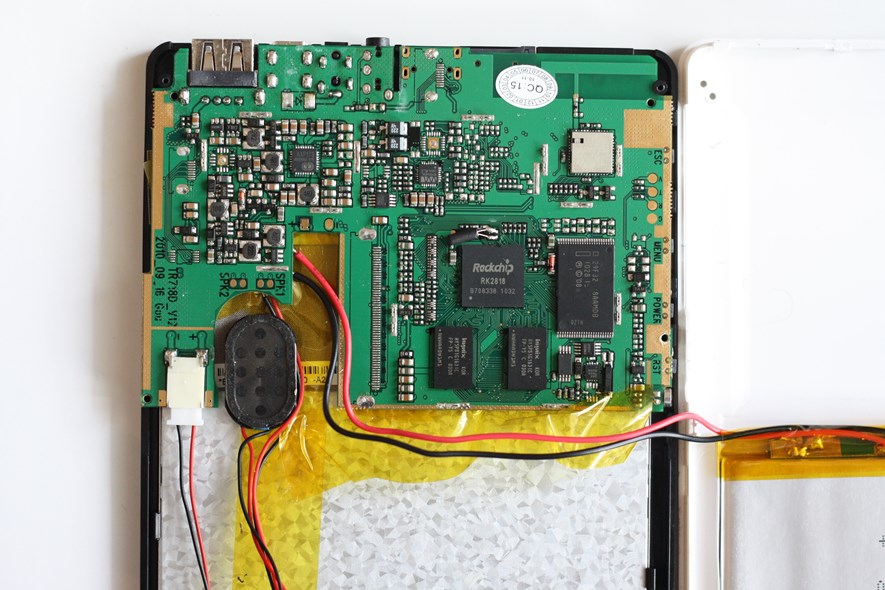

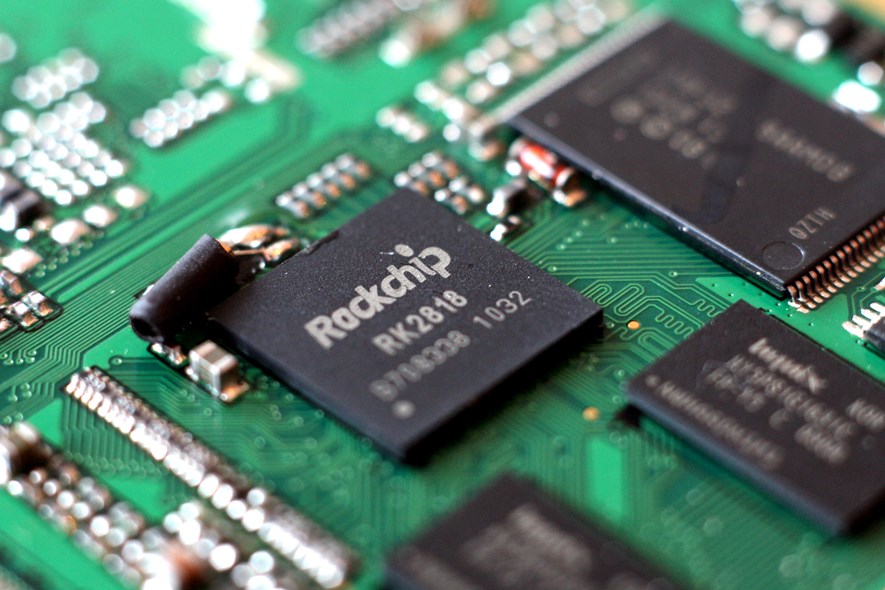
Inside: Rockchip RK2818.
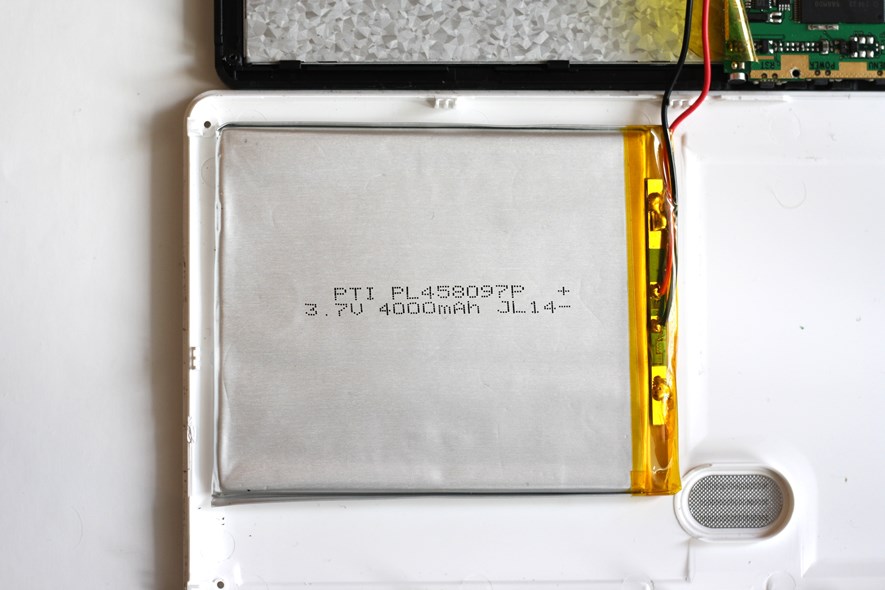
The battery. 3.7V, 4000mAh, measuring roughly 90x80x5 mm. I guess it could be replaced, but some basic soldering skills are required.
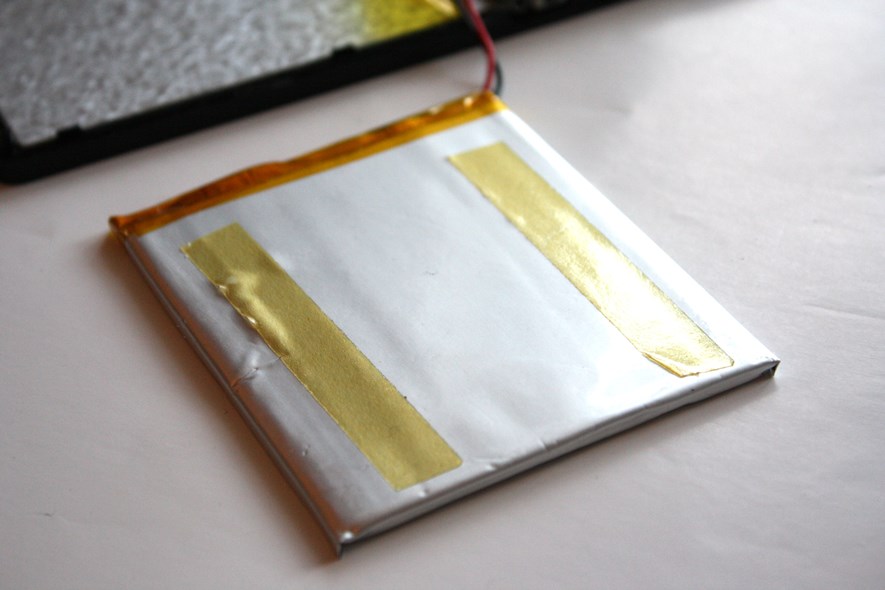
The battery is simply held in place by two pieces of double adhesive tape.
And that's it. Hope this helps someone.
0 Comments
Subscribe to new comments by RSS